Delivered Broken Product and Failed to provide RMA
Sanny Enginediy Manager Has been zero help.
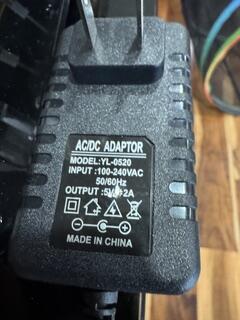
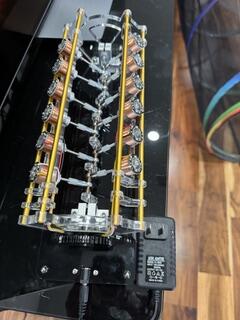
I have sent videos and written explanations of the problem (engine doesn't turn, Just lights). Instead of sending an RMA I am sent nonsense e-mail response. The last email response was to use a 5 volt power supply. I have only used the power supple included with the engine. I have sent four emails asking for a RMA. To date, NO RMA and ridicules responses telling me they want to help.
I have included a video. Judge for yourself. How hard is it to see it's broken.
Loren Watts

First of all I ordered a green car I received a yellow one and they put the hole for the antenna on the wrong side
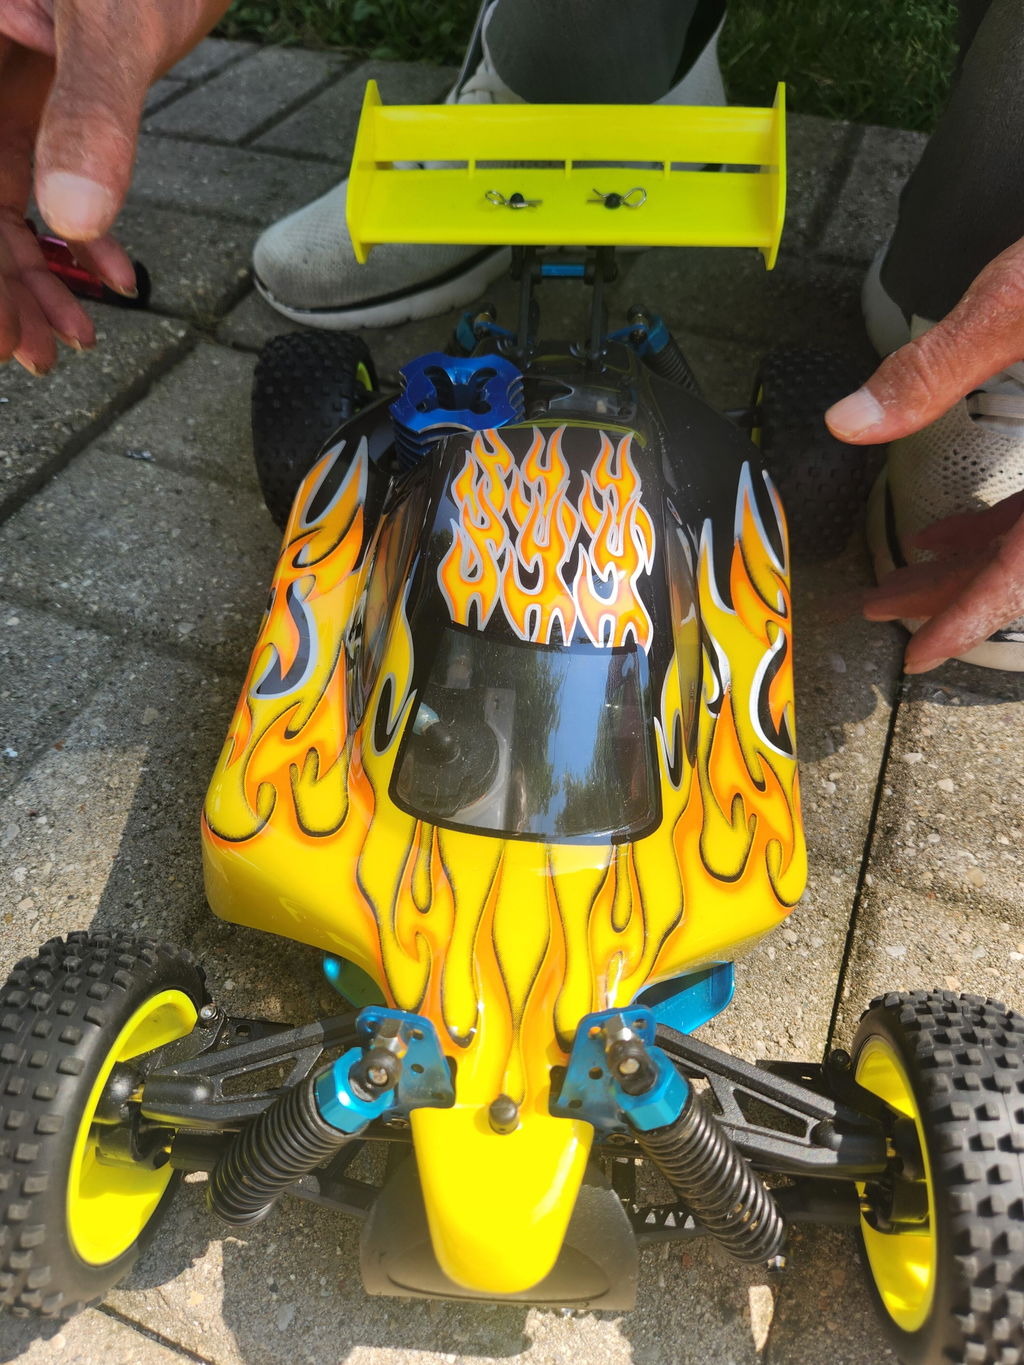

Pics and video

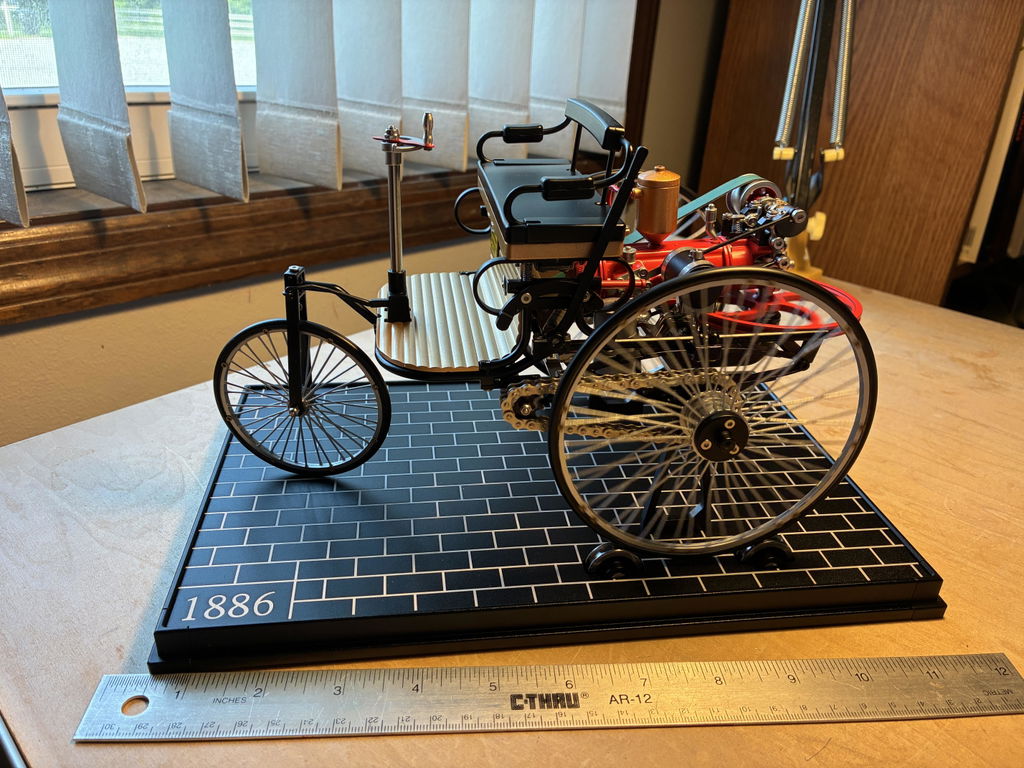
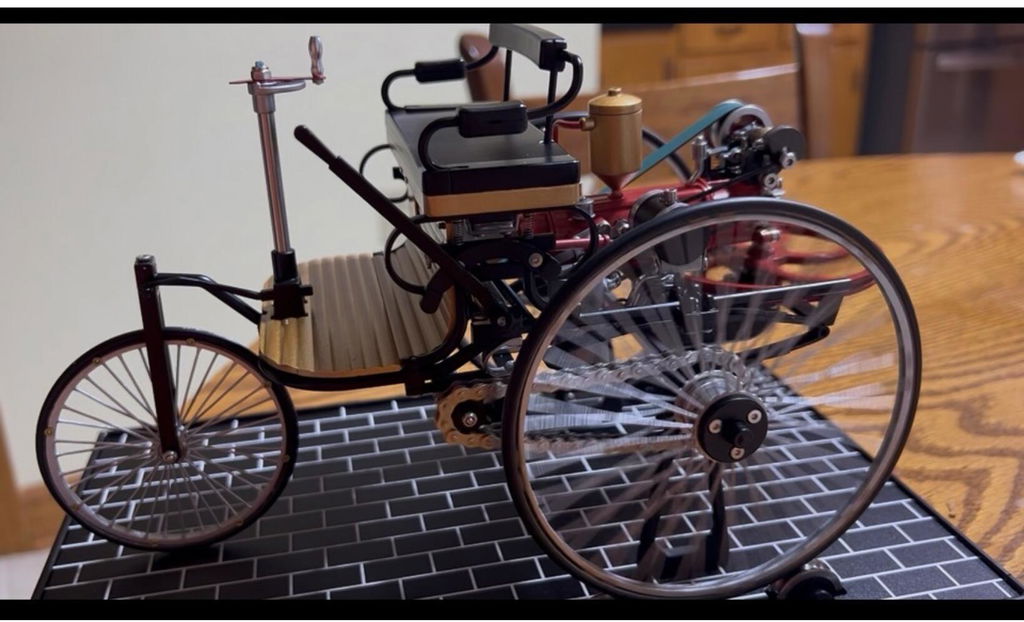
I had previously built a 1/24 scale plastic static model of this automobile. When I learned that this all metal working model was available I immediately ordered it and was not disappointed. The workmanship and detail is incredible. The instructions and part layout are very good although watching a YouTube video of the build helped when the instructions were not absolutely clear. In summary, I am very pleased with the result and recommend it highly to any experienced model builder with an interest in historical auto models.

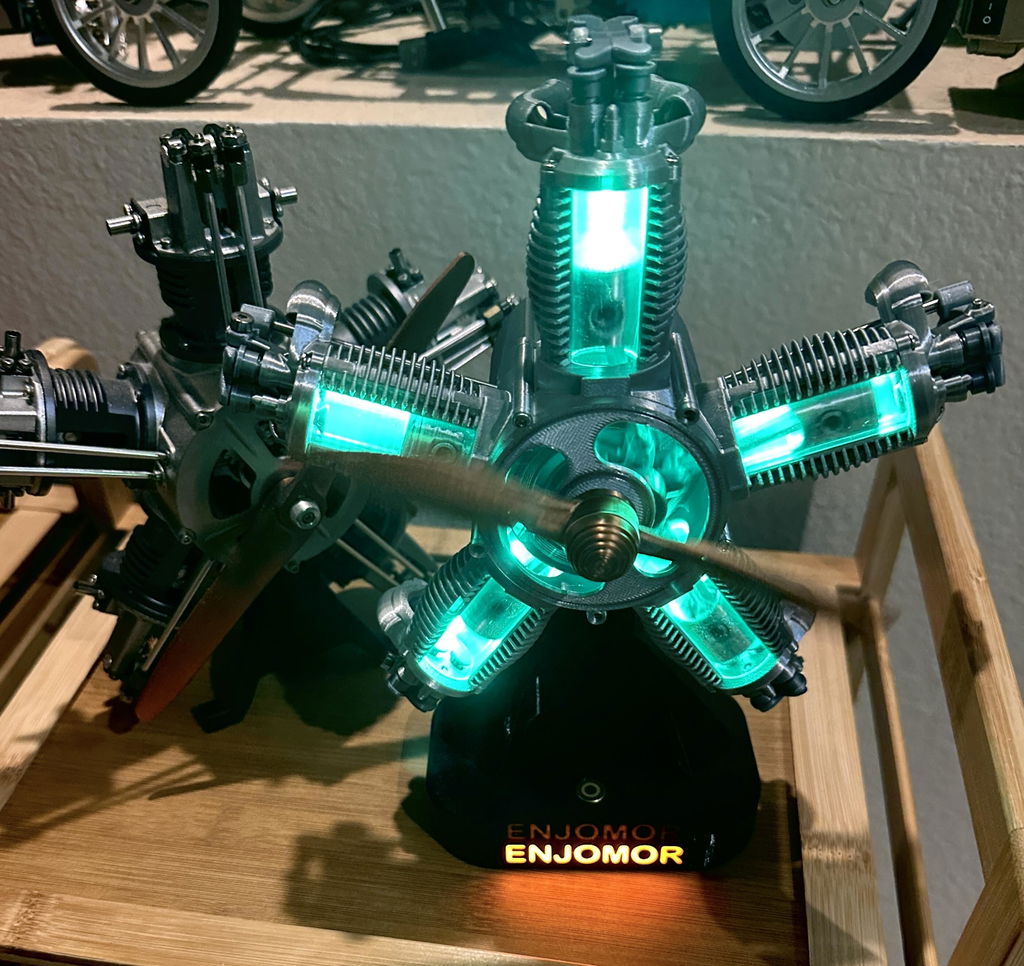
This is a really nice 5 cylinder radial engine kit with built in lights.
It’s the perfect kit for a new builder.
Easy to assemble, great instructions and the parts fit perfectly.
Surprising LED light effects inside the cylinders when activated.
Built in rechargeable battery.
One of my favorite easy-build DIY models!

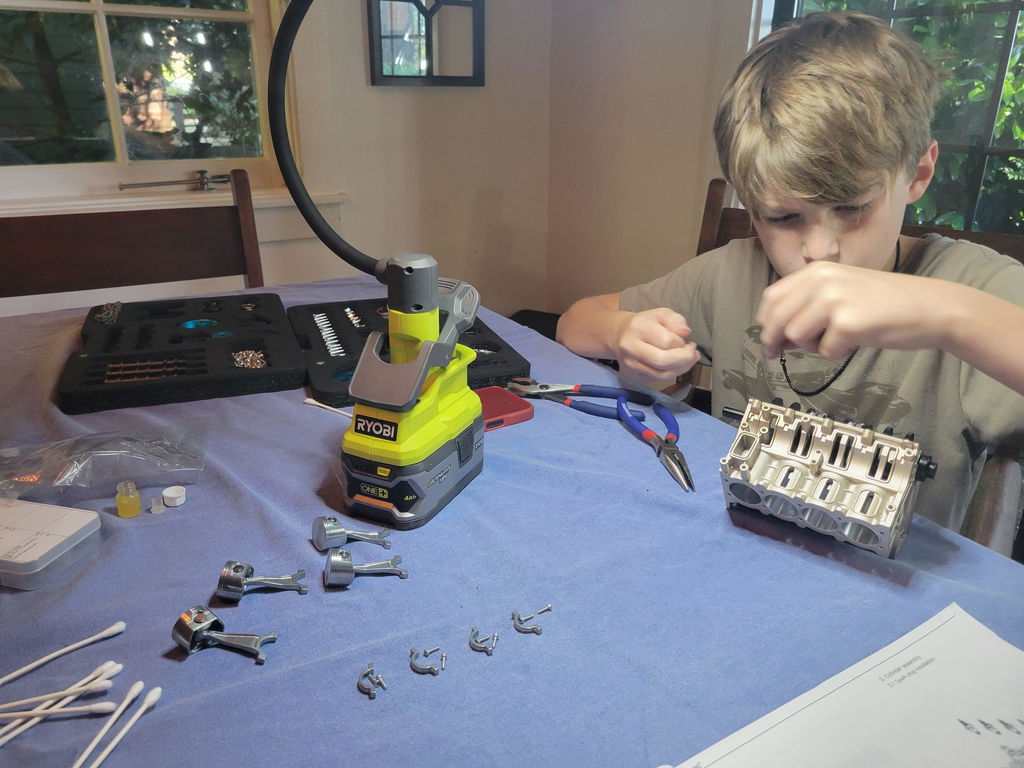
Purchased for my almost 12 year old grandson. He was thrilled to get started and could not wait to complete the kit. He worked on it diligently to completion over several hour long sessions. Great kit. 👍

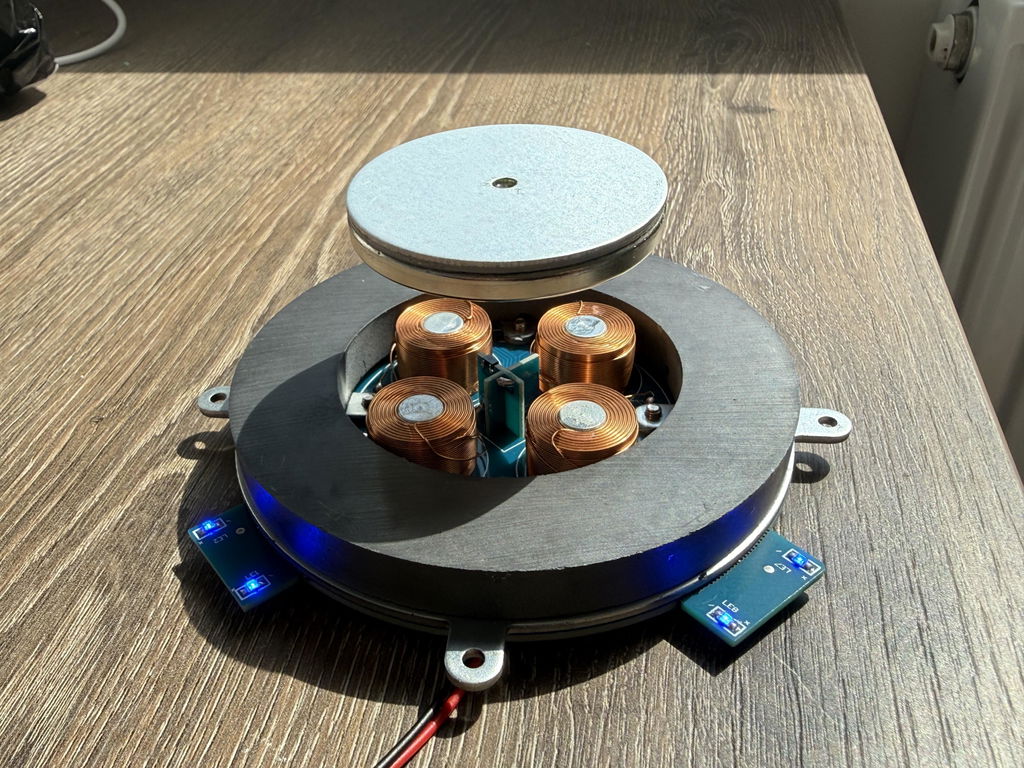
Exactly what I needed for my custom project. The levitation works very well and I’m really happy with the product. I also asked about purchasing additional floating units, and the customer support was quick and very helpful. Highly recommended!

As a paraplegic, I need things to keep me sharp, and keep good skills with my hands. The model was terrific! I worked on it and had it put together in just a few days. The quality was unbelievably great. It works just like the real thing. I can’t wait for another new one to roll out. I will be one of the first to order it.
The servo mount bolted onto the engine nicely, but I had to do a little filling on the inside to get the servo to fit. Otherwise very nice part.

Stand works great a must too run these engines and hold them firmly. If not putting them in anything rc related.

Works great almost ready too fire up.


Receive the starting accessories and was very happy with my purchase.
Everything looks good and I’m sure everything will work as it should.
Because of home projects I did not start yet but can’t wait.

Outstanding project. Was a fun assembly and looks great on display. I highly recommend it.
Engine looks good will no more once I run it .have too make brackets too attach engine too stand I purchased with my order. Sold out on your web site


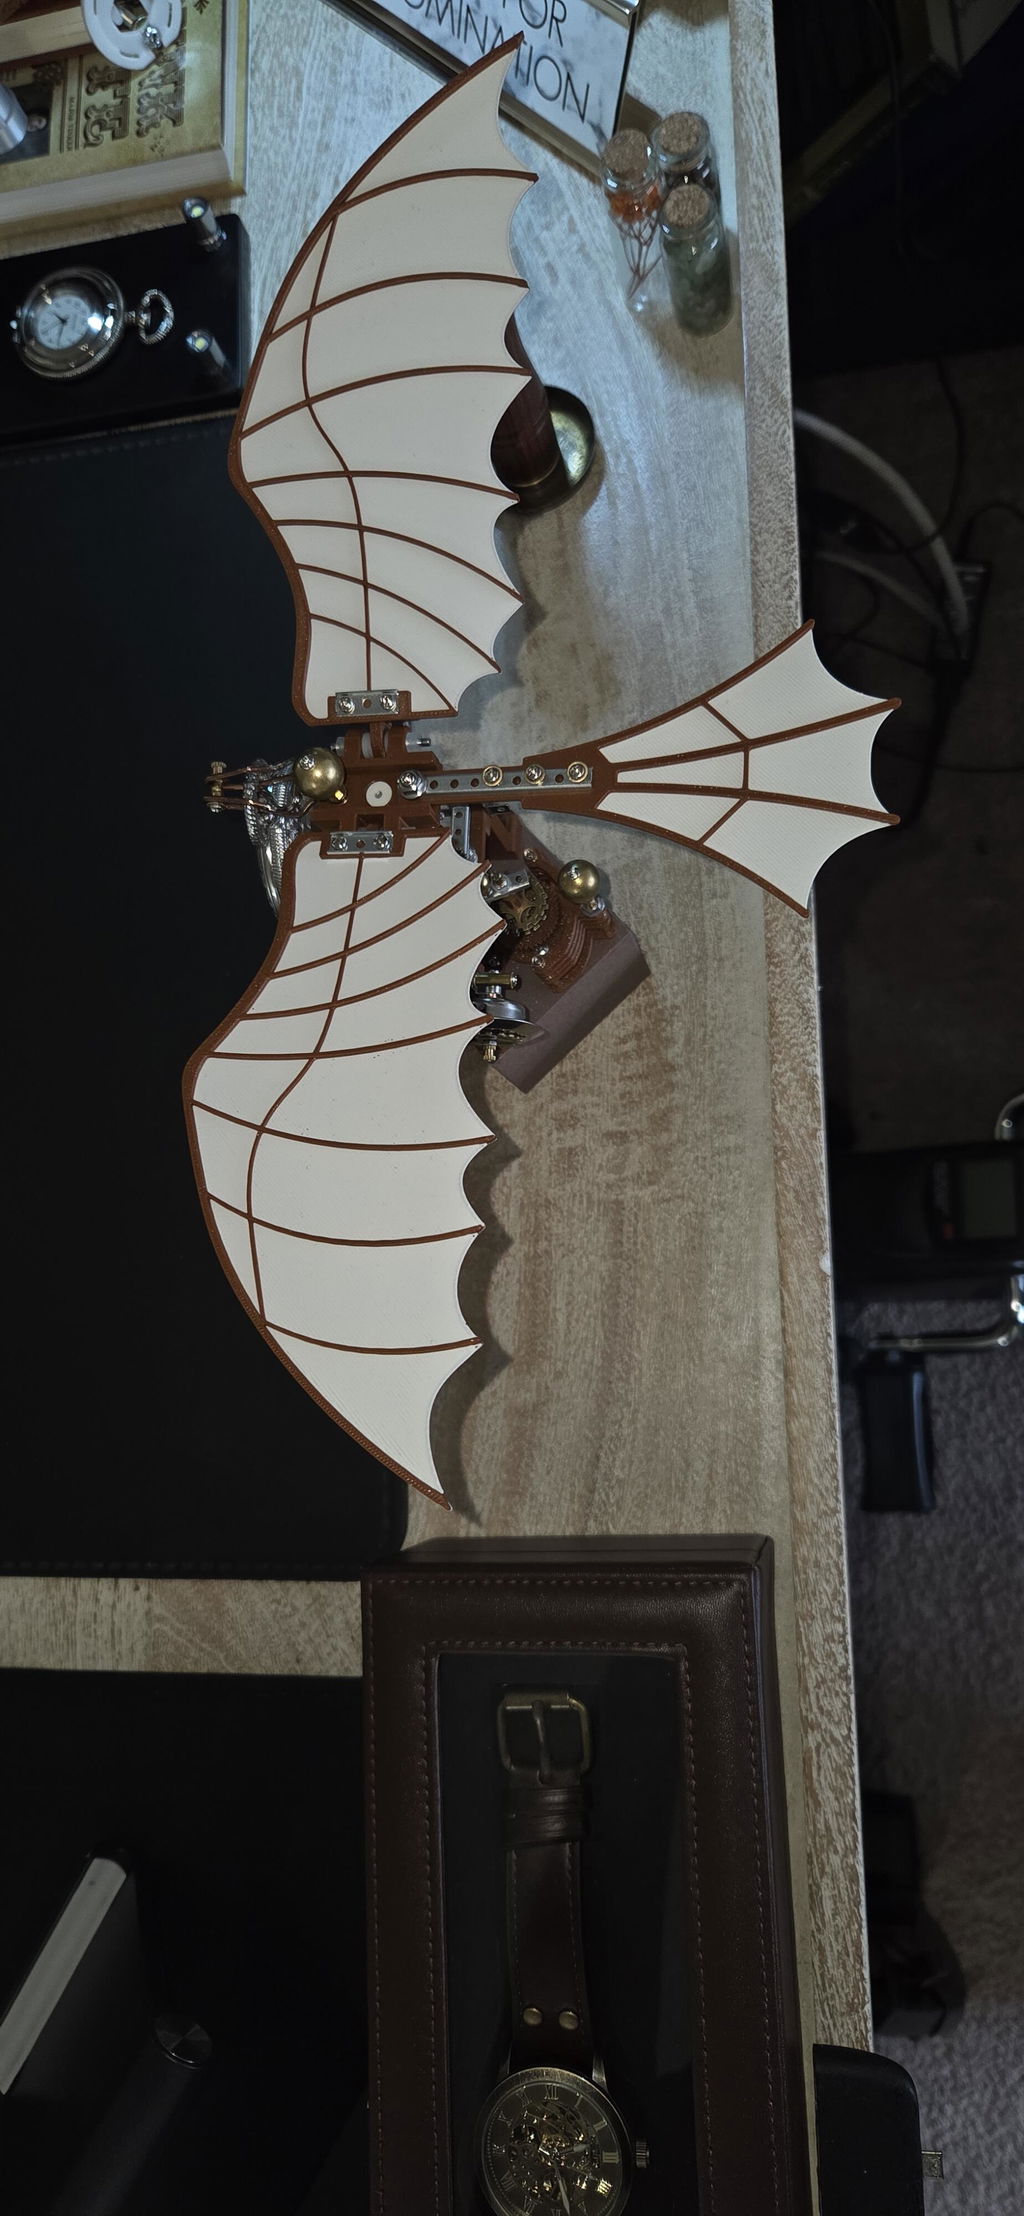
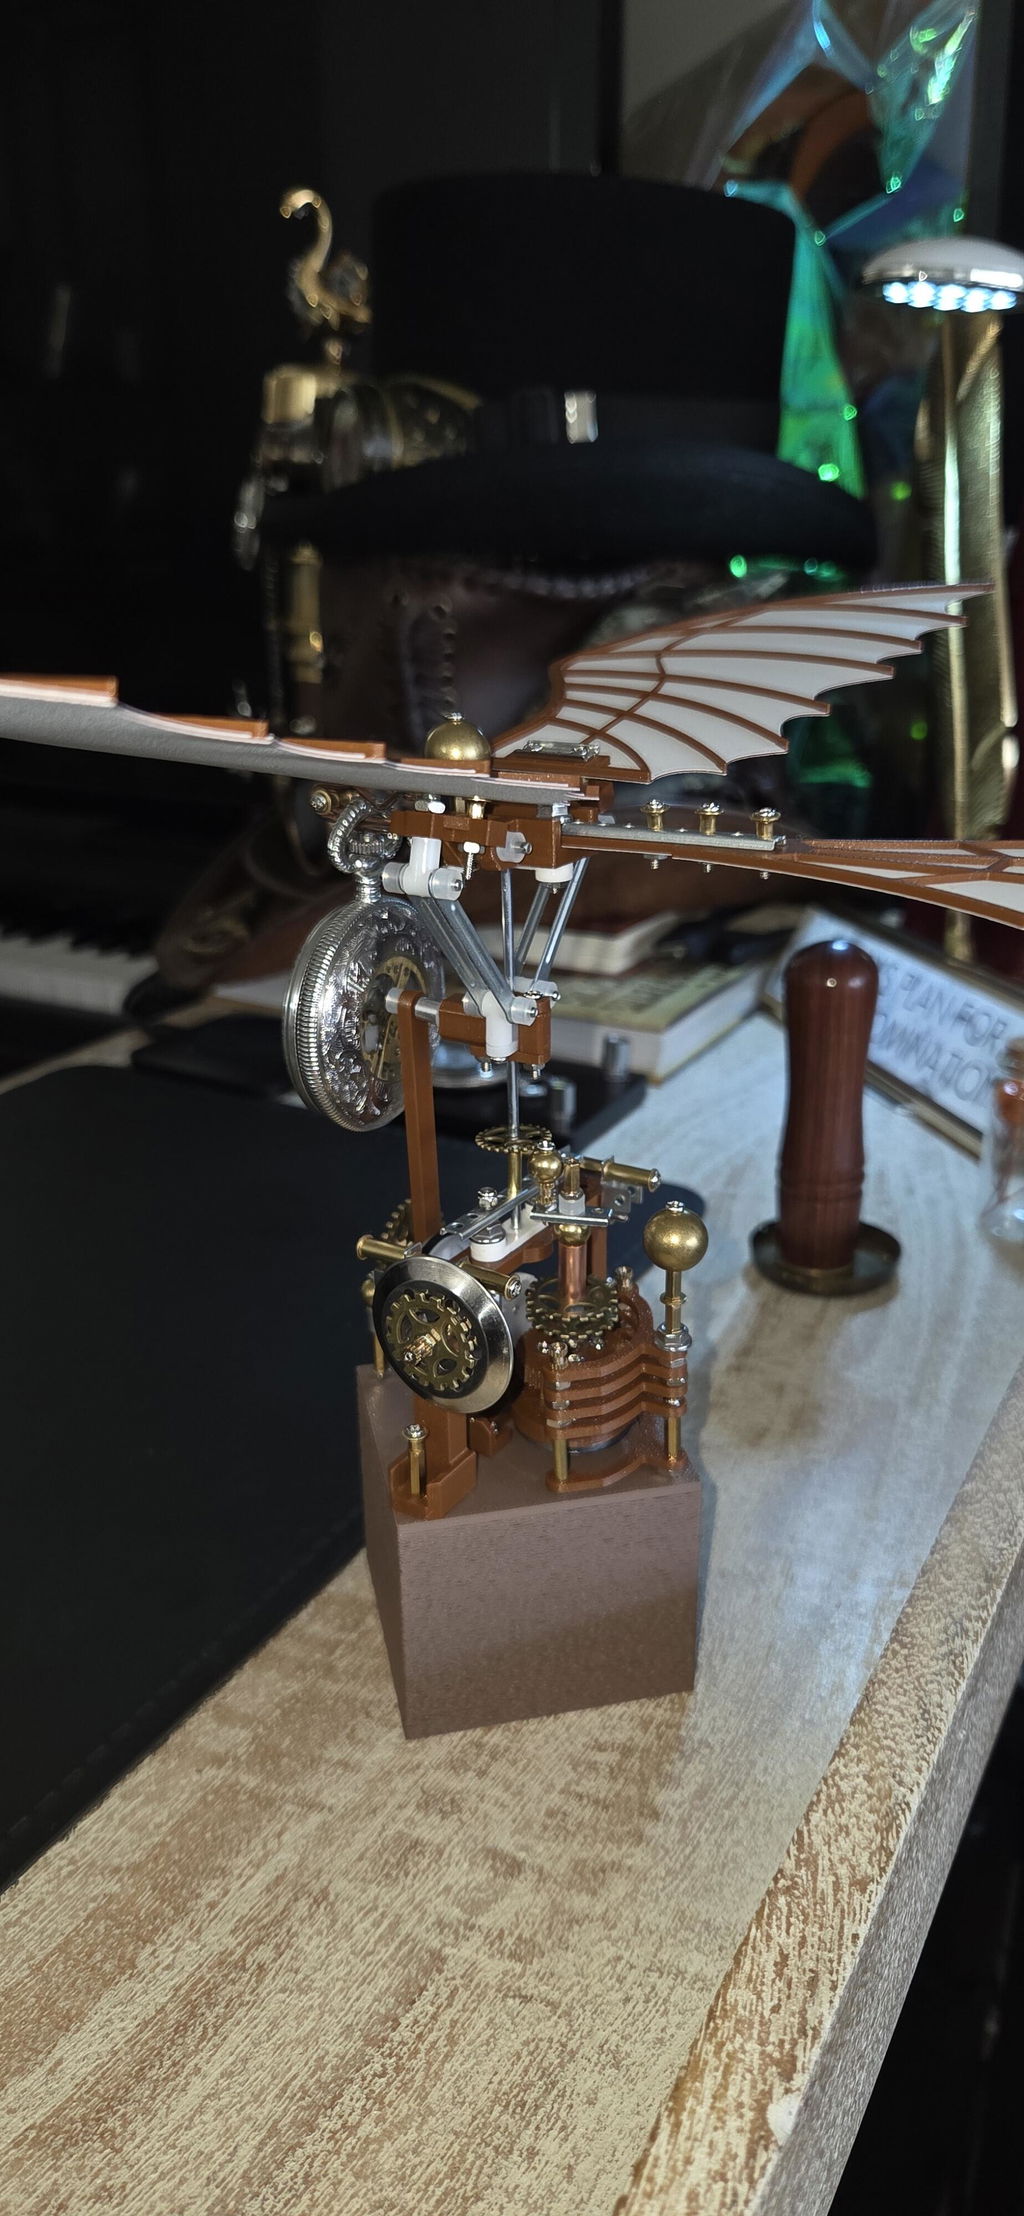
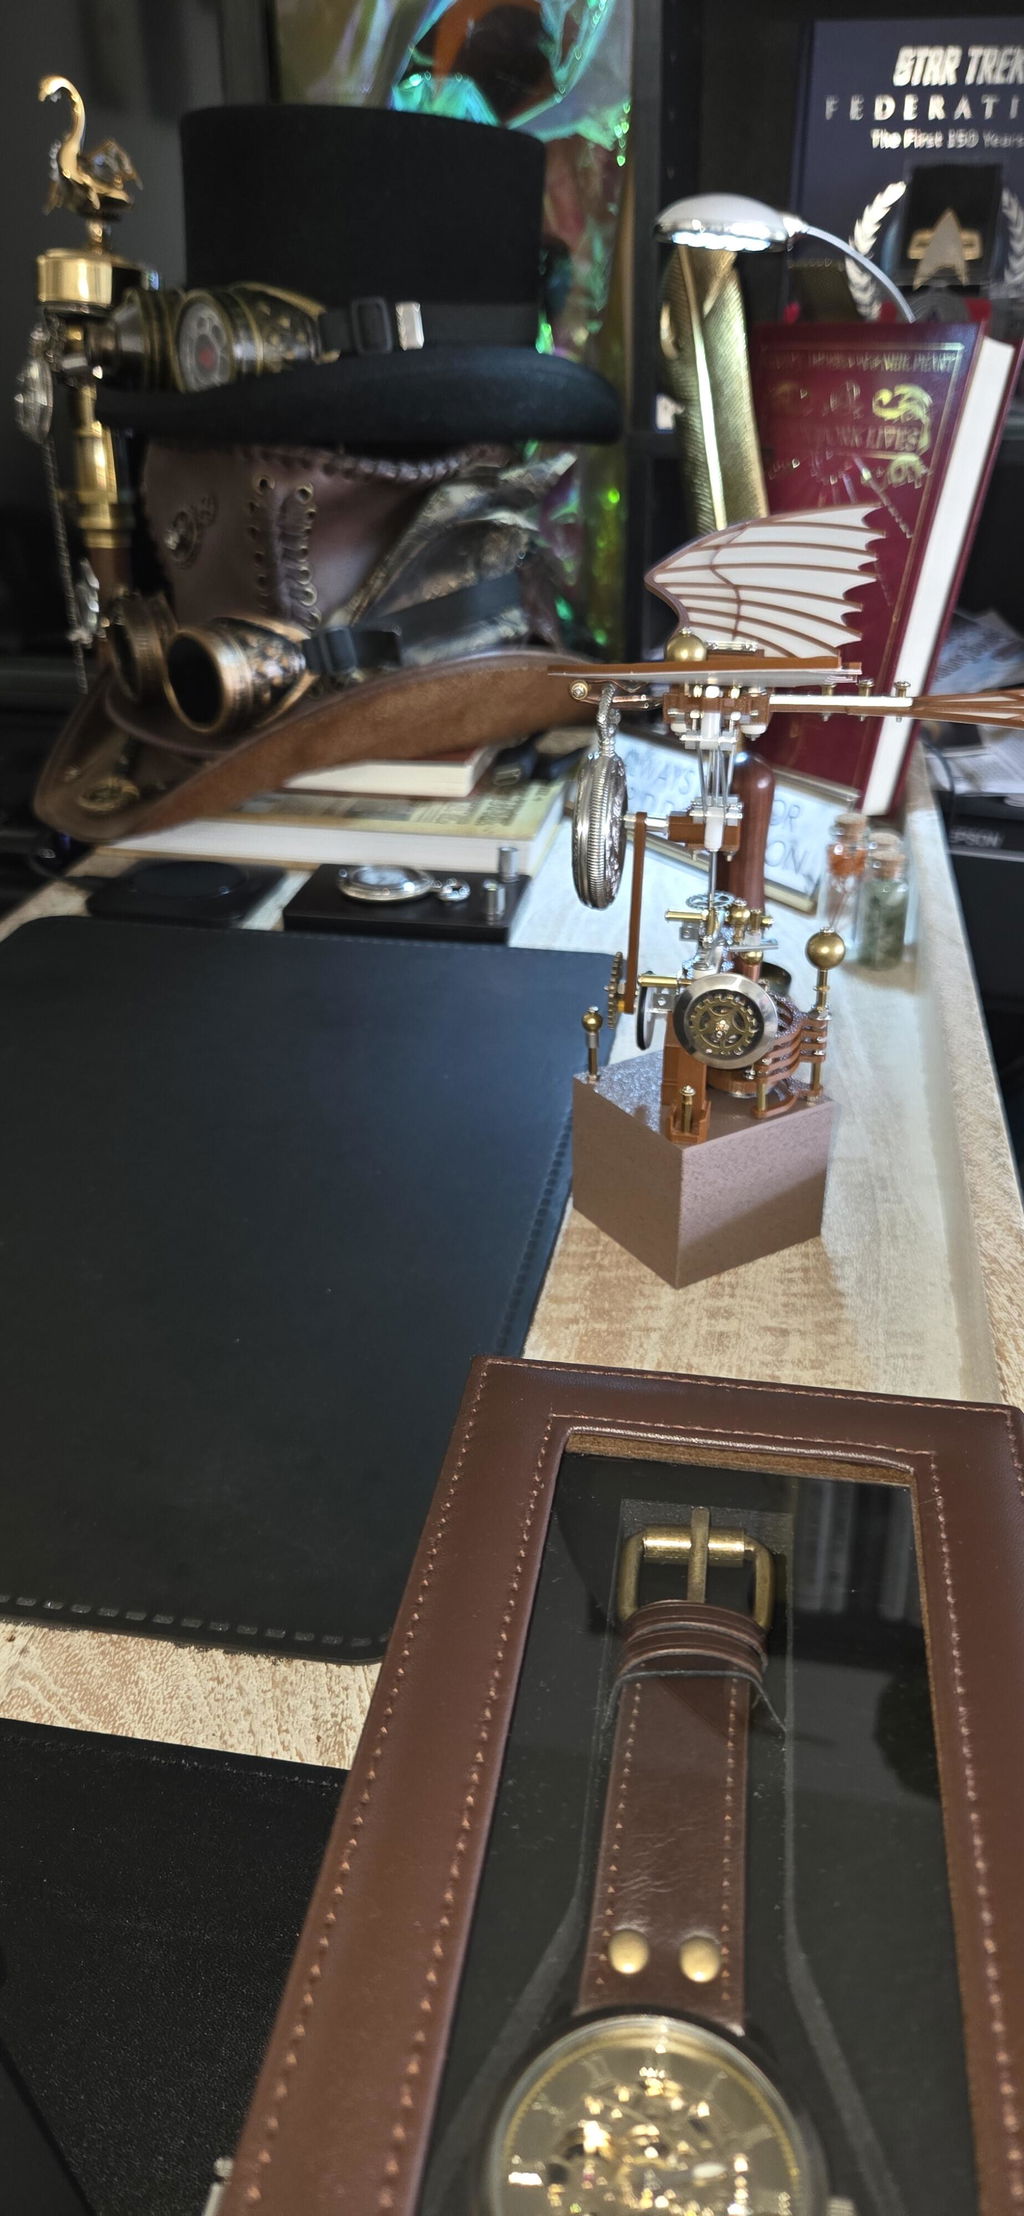
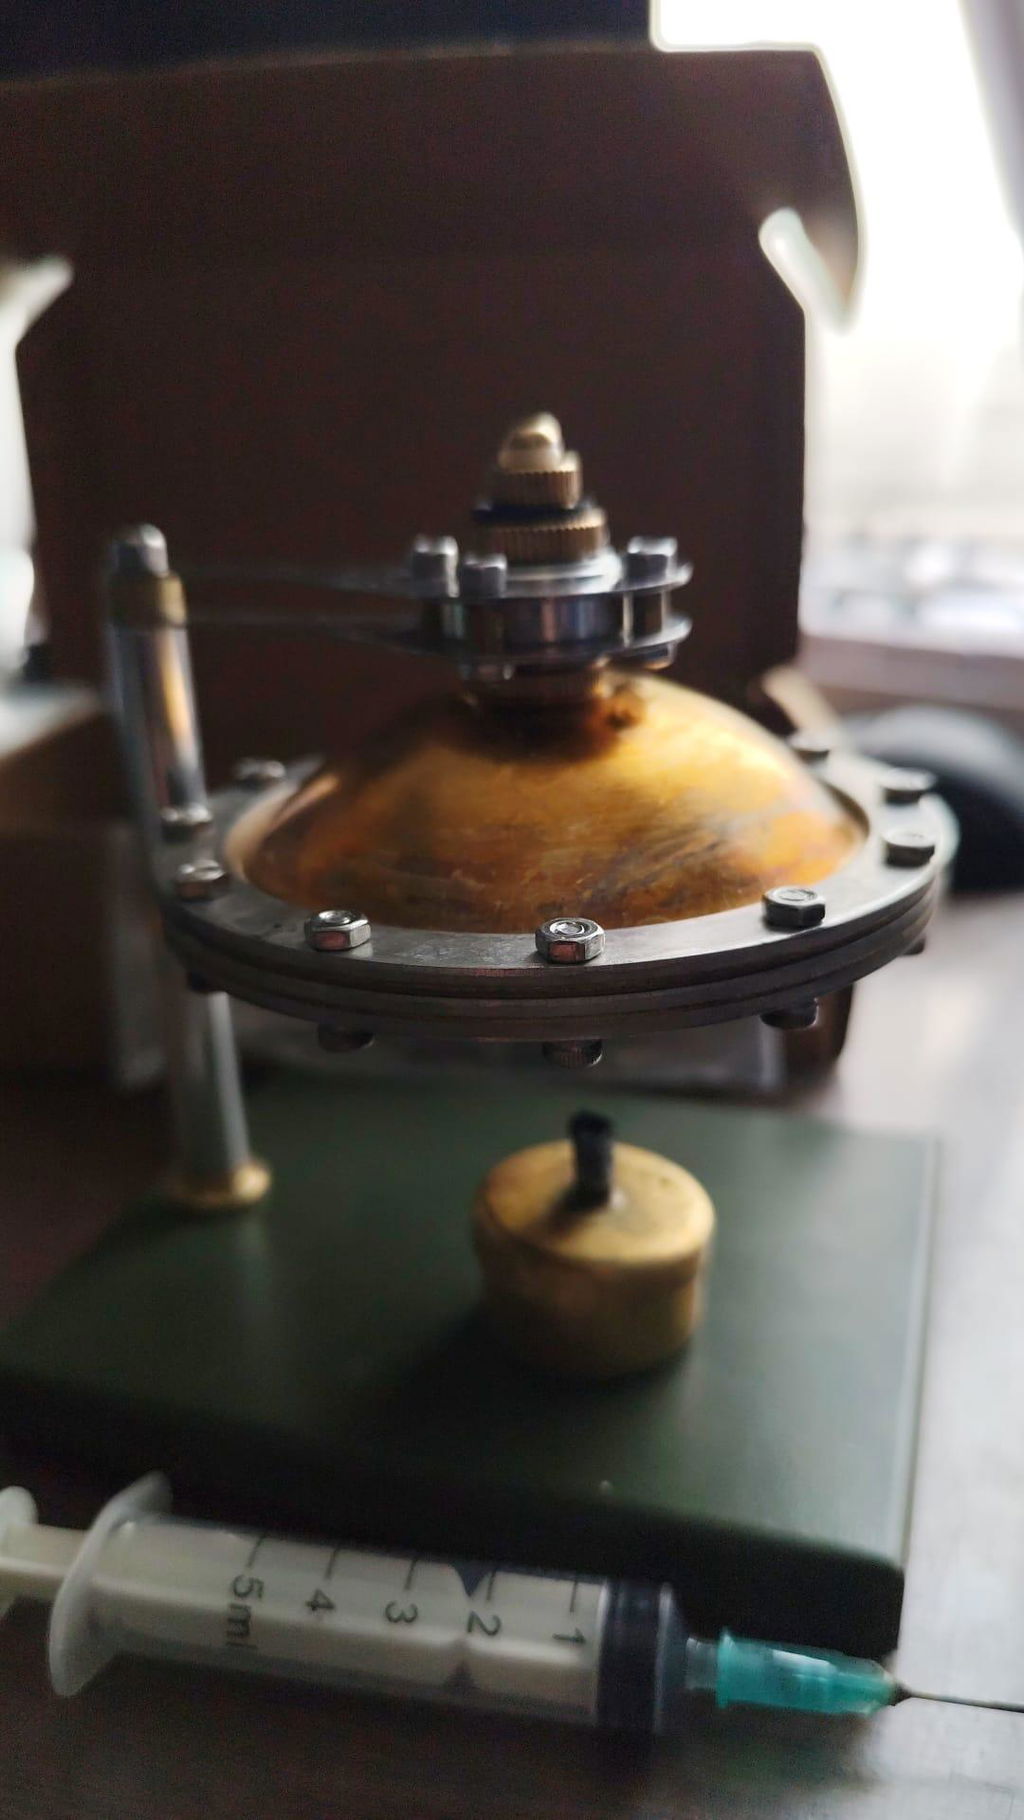
Enjoyable to assemble with flexibility to swap certain parts in places for a custom look (suspended the shaft gear and placed brass globe at head) and makes a charming desktop working display model. Highly recommended.

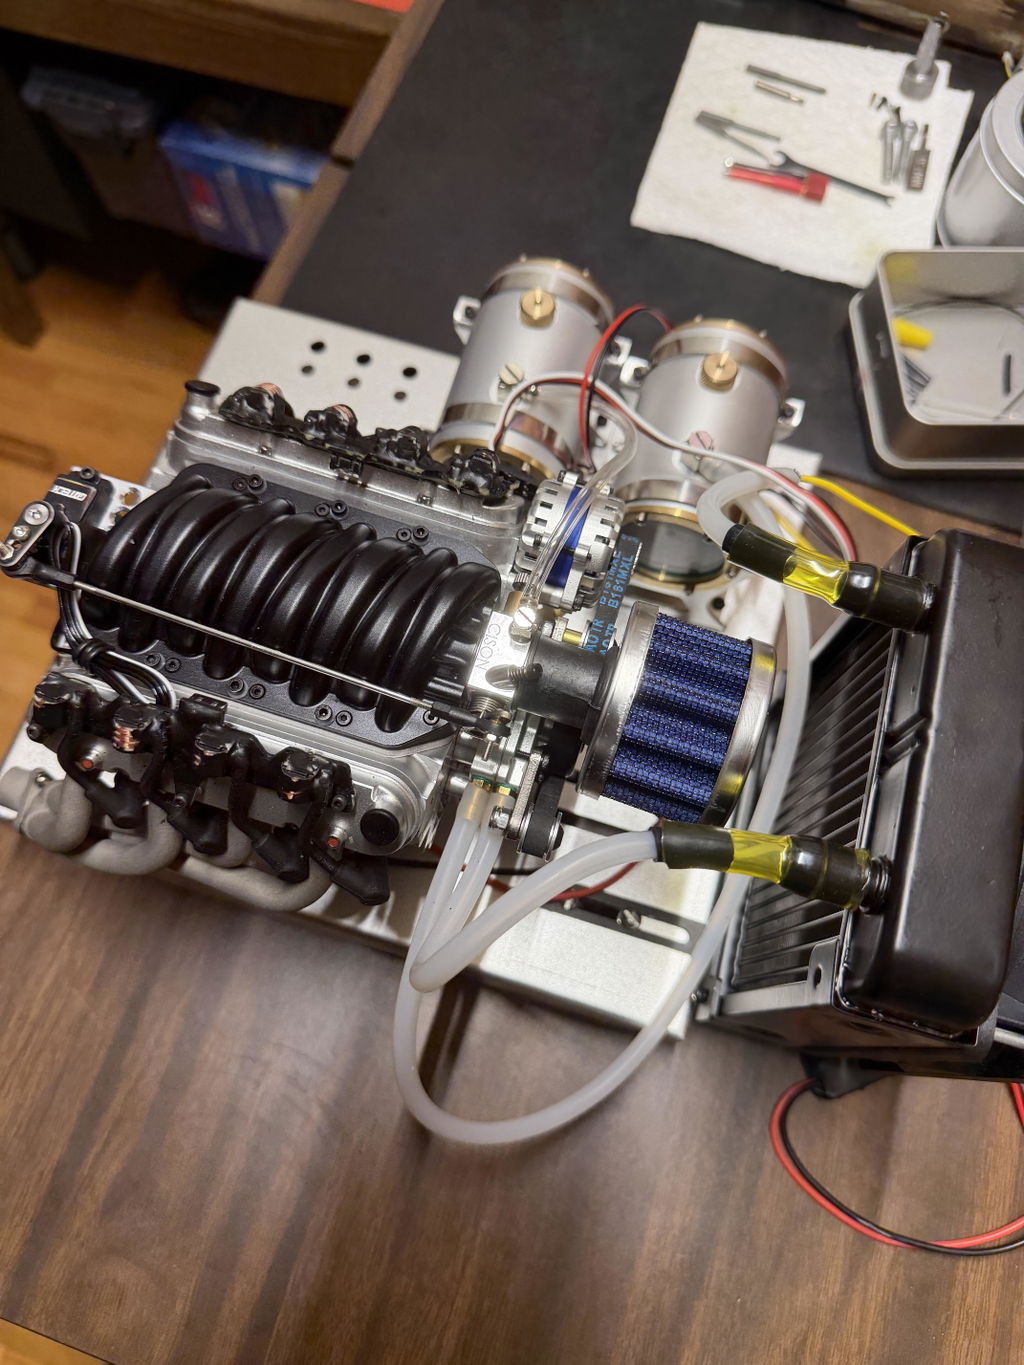
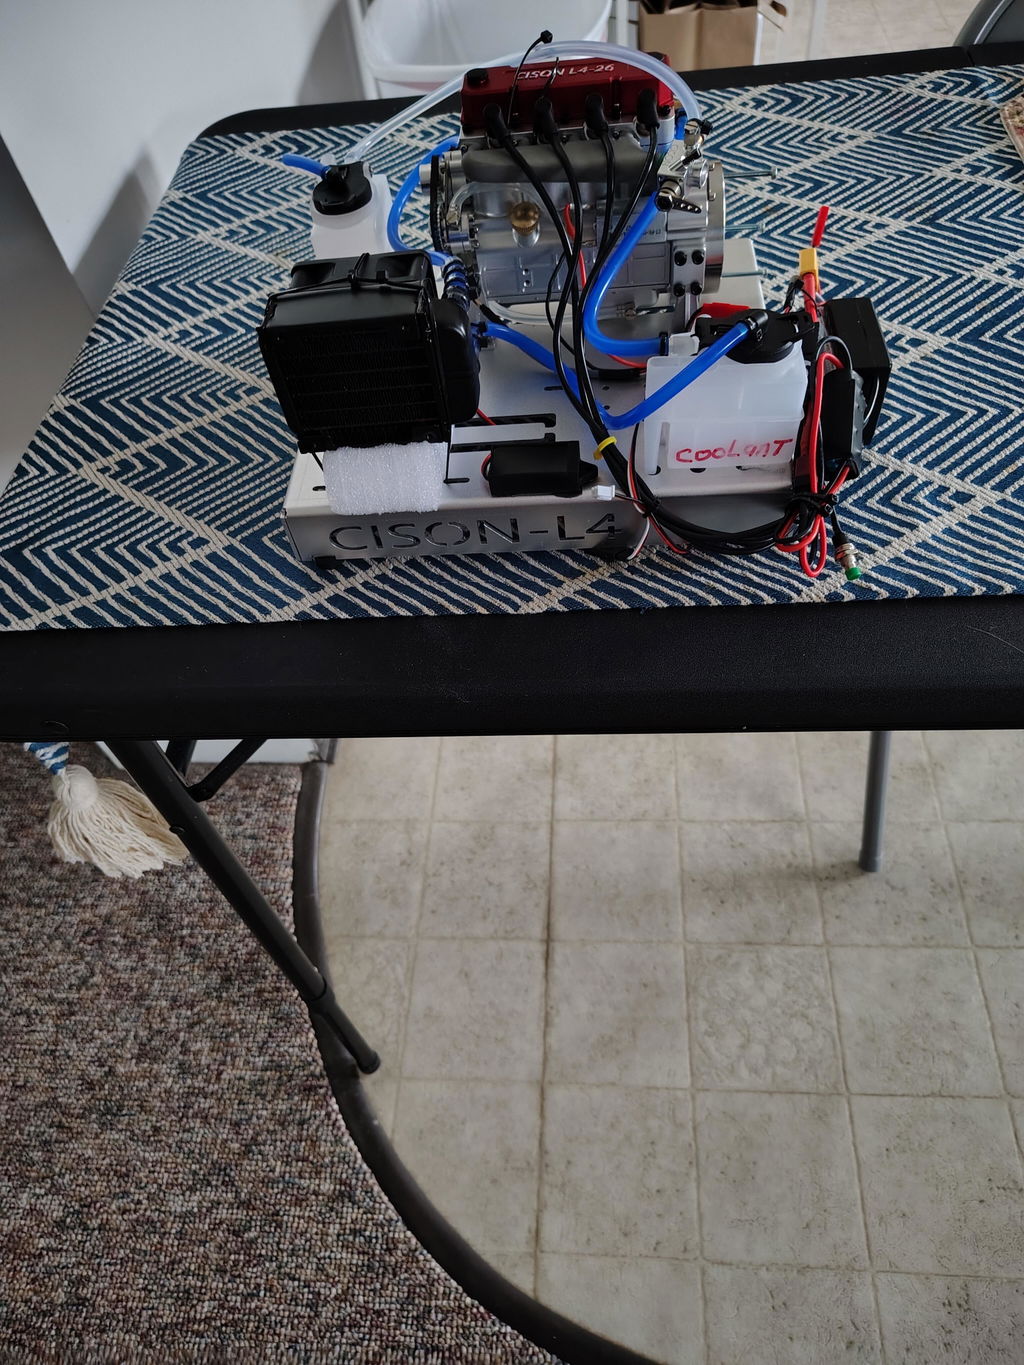
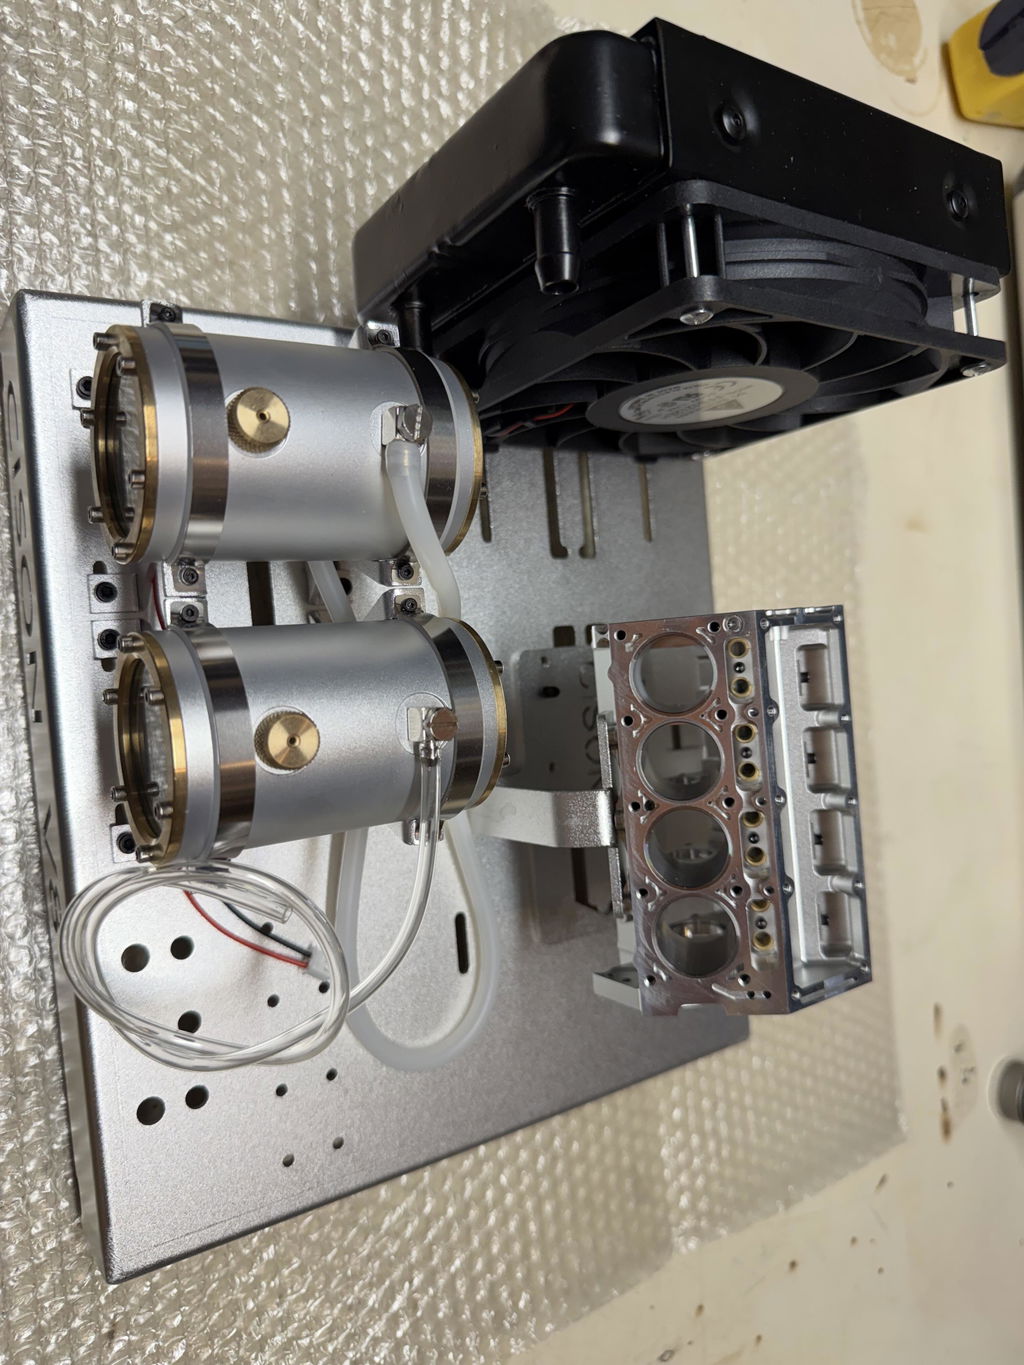
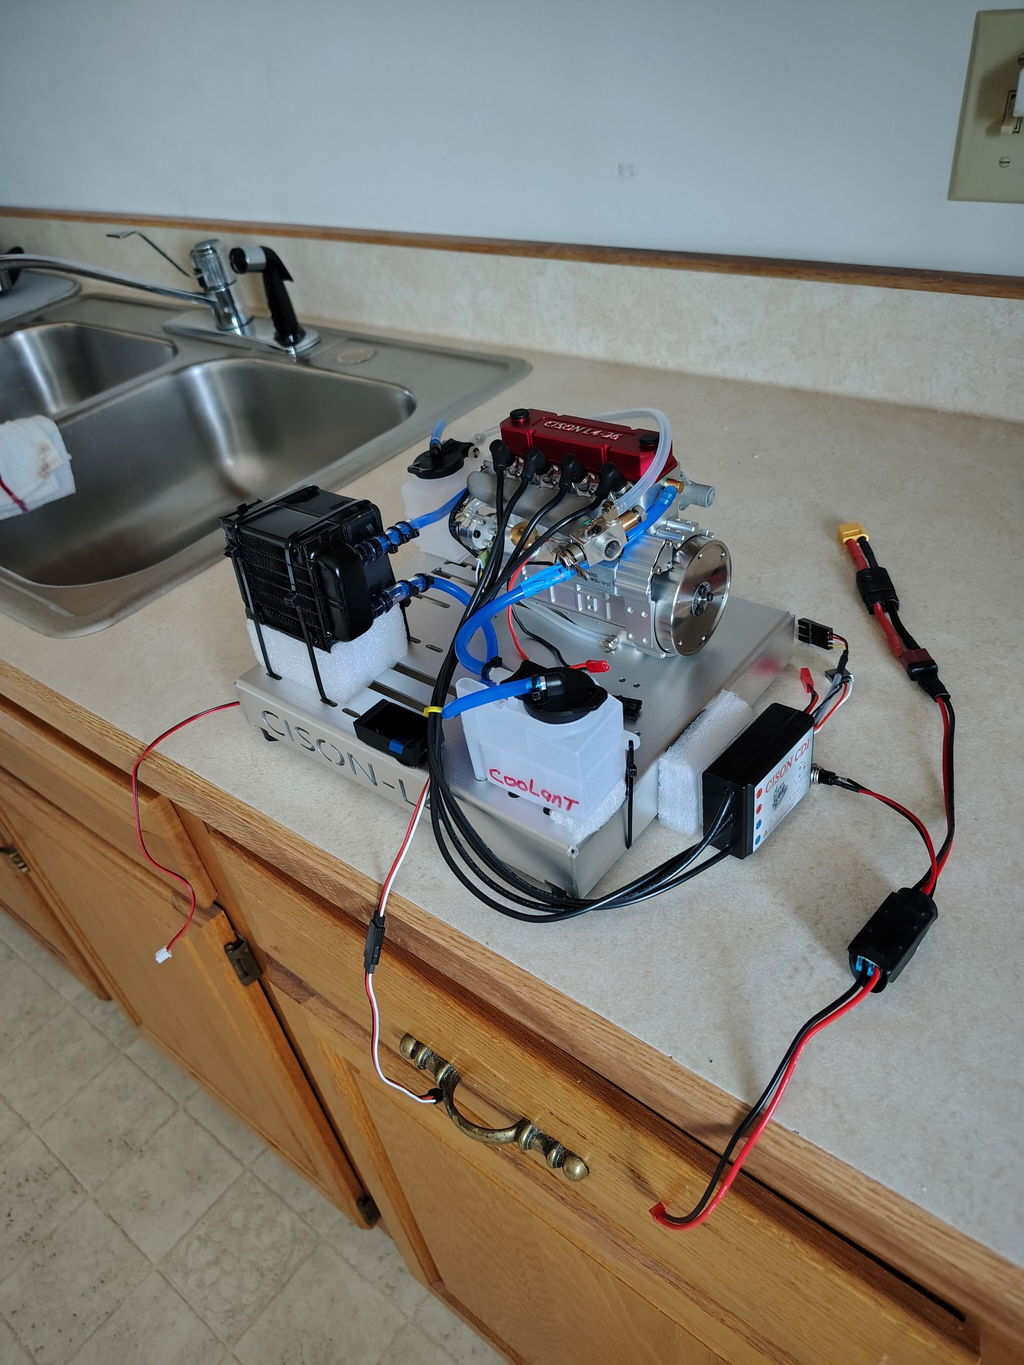
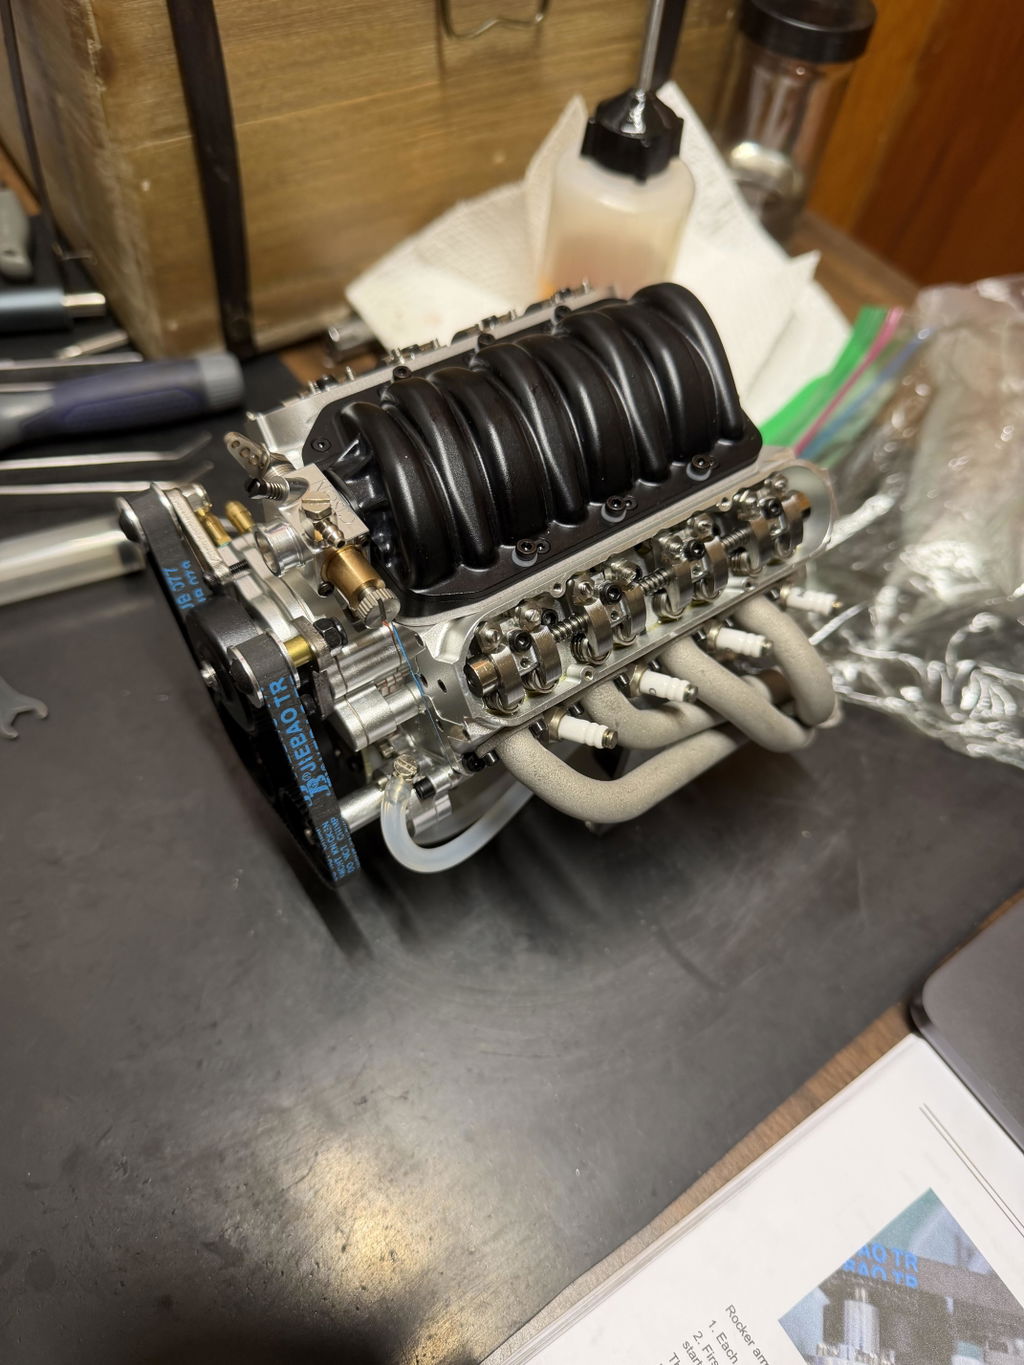
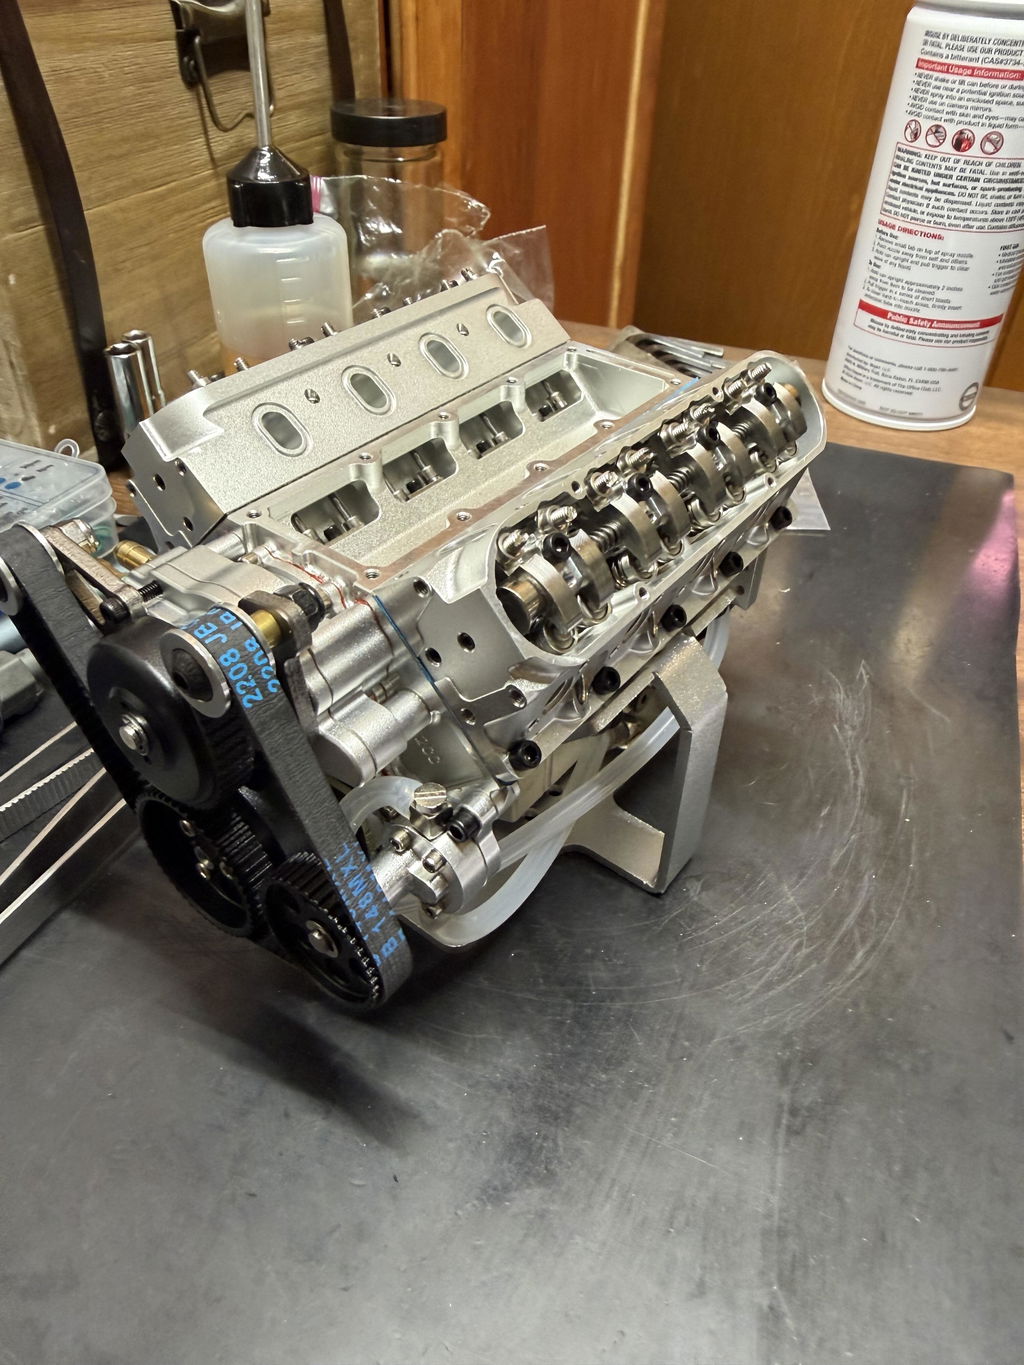
I got the engine fully assembled, I still need to do a little more adjustment on the valve rocker. I have the spark plugs in, turning the engine over by hand I don’t have any compression for some reason. Maybe I need to add the 30ml of oil. When I assembled the engine I followed the manual and the toturial video. It has been a great experience building the engine. I still have to hook up all the wiring, radiator & fuel. It reminds me of when I build my actual Chevy 350 engines.

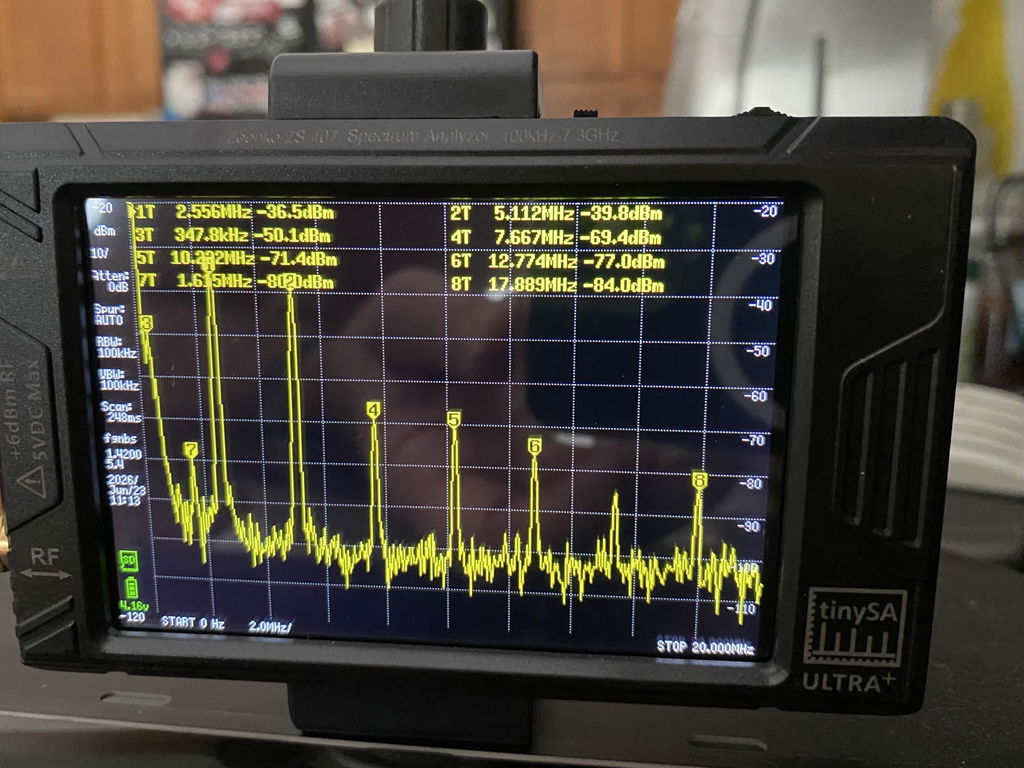
This is a great smaller teslacoil device and - even though it's only rated at less than a third of its bigger brother - it packs a wallop and can do great presentations when shocks or power consumption is a concern. The only thing I would change is add the rocker switch to the power cord so that it's easier to power the unit on and off at will.

Wow! Just finished this monster and can't rave about it enough. Can't stop looking at this thing, it looks super fantastic. Just did the Widow and then the Scorpion so the picture below shows both so you get a sense of how they look together. The scale in front is 13" in length. Takes a while to put together but well worth it as it was a joy to assemble start to finish. Do yourself a favor and shell out the couple of extra bucks to get the version with the full Metal shell. You can thank me after. Hope the designers revamp the Preying Mantis in this style and level of detail..... feel giddy just thinking about doing whatever they come up with next.
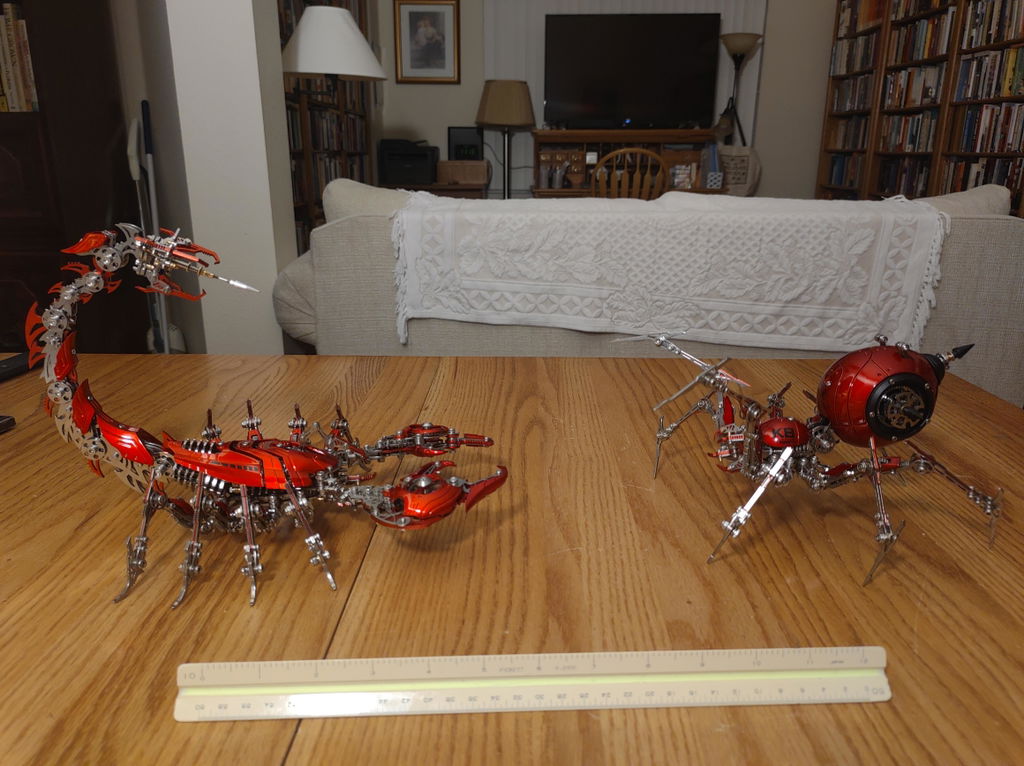

Looks as good as it does in the Video/Pictures you see online. Was super fun putting this together. Top quality parts that fit like a glove. It pays to spend a few extra bucks to get the metal shell. It really does take it the extra mile to have the metal armor on it. I included a picture next to the Scorpion by the same manufacturer. The ruler in the picture is 13" in length to help judge the size of this thing. Can't recommend this kit enough. I have done a ton of these kits and by far these two are head and shoulders above the rest. Hope they do a remake of the Praying Mantis in this format.


My 9-year-old really enjoyed this kit. The first assembly took about 15–20 minutes, which was a nice challenge but still manageable for a child with some patience. The best part was that after getting it running, he disassembled it, reassembled it again, and got it running a second time ... which says a lot about how engaging it was..... I recommend it for kids who enjoy building and learning by doing.(UFO Spin Suspension Steam Engine)

I enjoyed building this kit and all the correct parts were included, plus some spares. Fortunately extra red silcon O rings were included since one broke on installation (very, very tight fit on the piston). Instructions were complete and accurate.
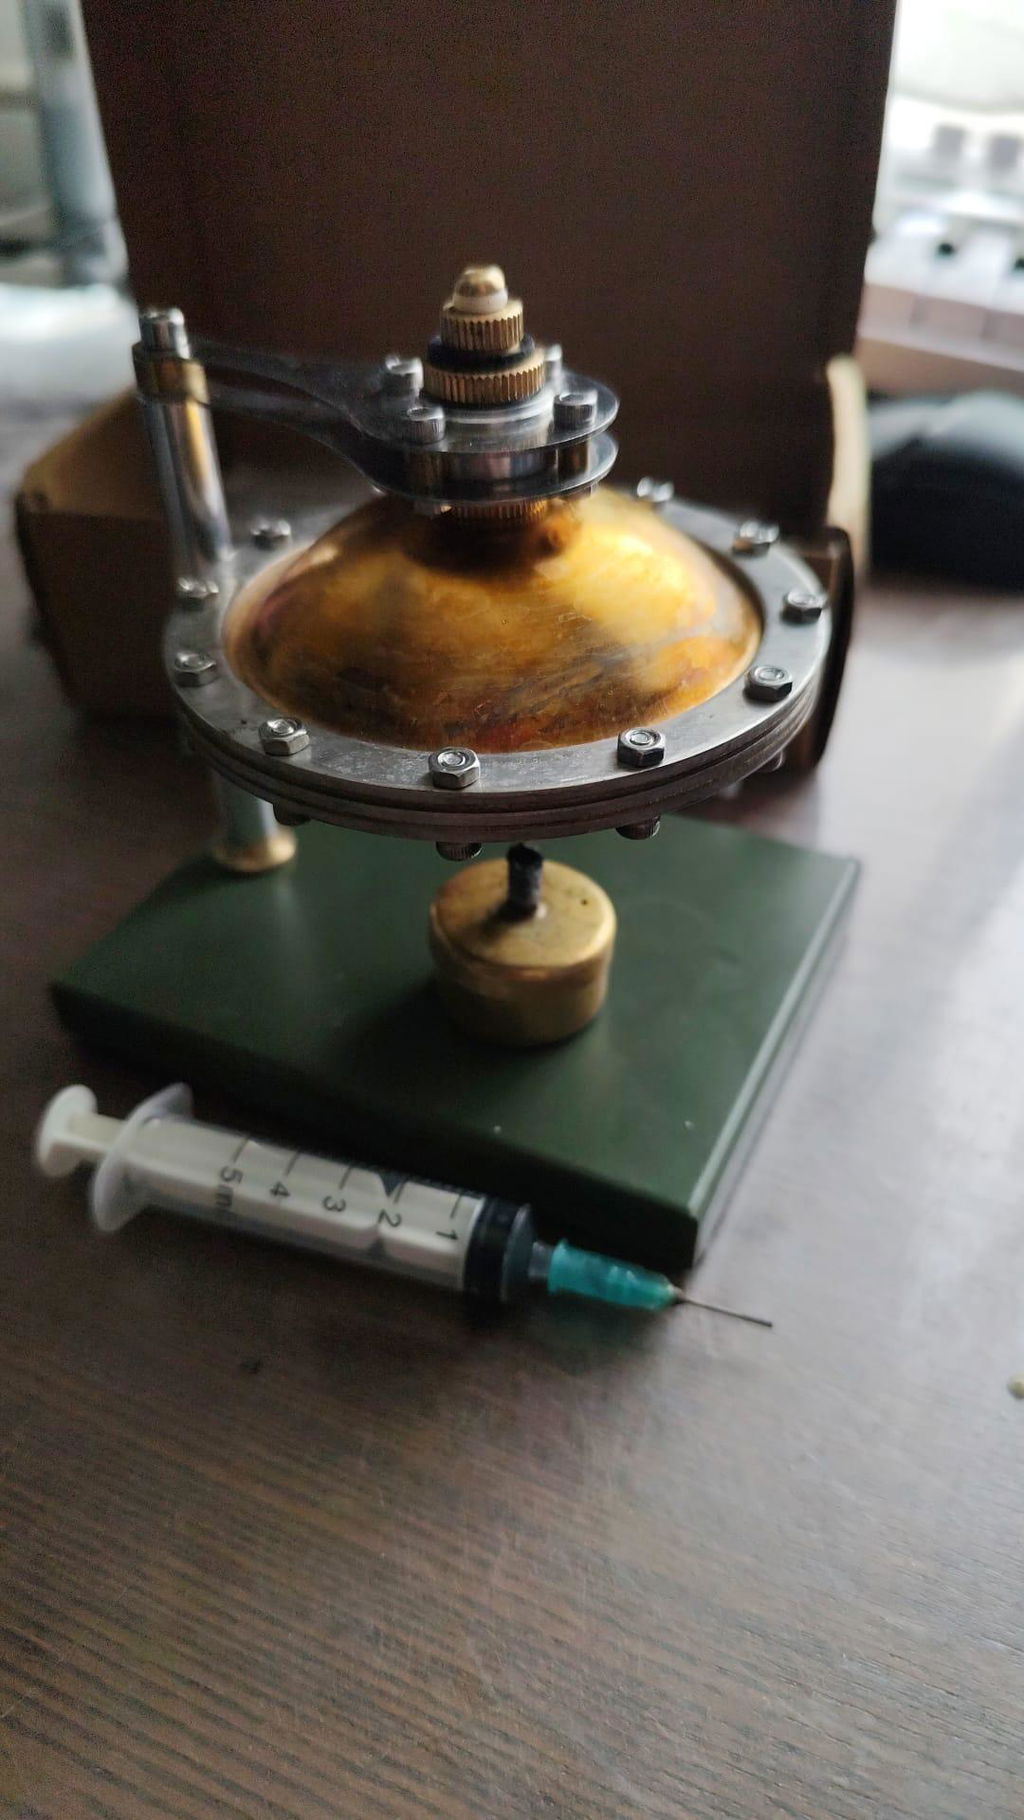
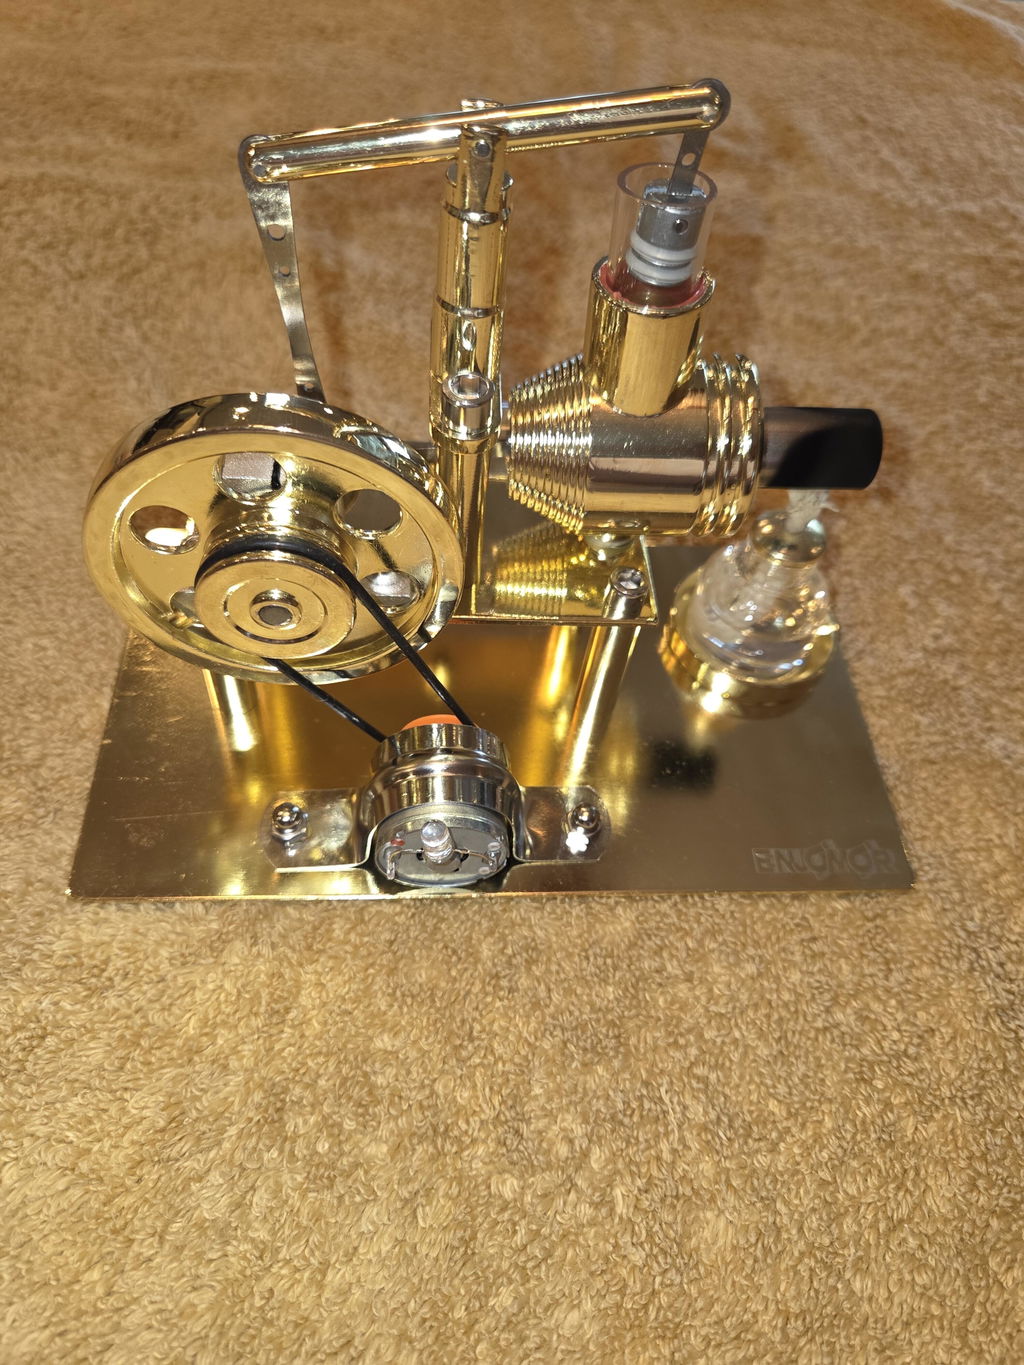
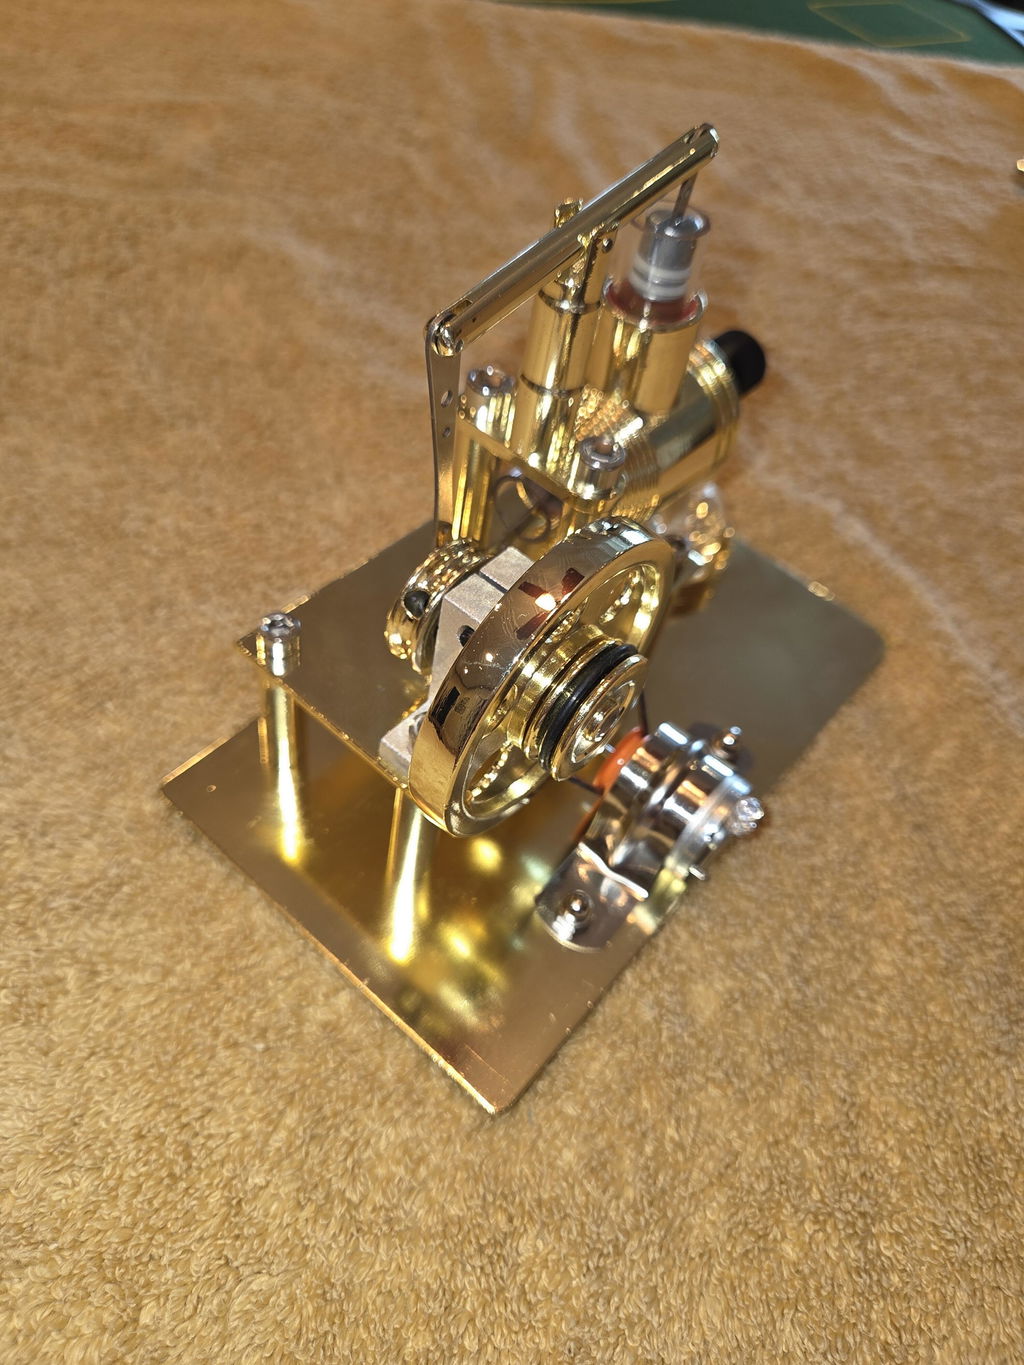
My model operates freely when turned by hand, but I am unable to get it to run.. The LED flickers briefly when it turns but it will never run on its own. Fuel is 99% isopropyl alcohol and I've I've experimented with various wick lengths (from about a 1/4" or so to extension to just under, but not touching, the glass tube). I've also tried various preheat times (from 20 to 60 seconds} but the model refuses to run on it's own. As near as I can tell it is not even attempting to run. There is no noticeable difference between manually spinning the engine when it's cold and when it is heated.
It's very frustrating and I'd appreciated any troubleshooting guidance anyone can offer.

When I was young, I used to enjoy assembling small toys and model kits. As I grew older and became busy with work and life, I gradually forgot about those hobbies and childhood memories.
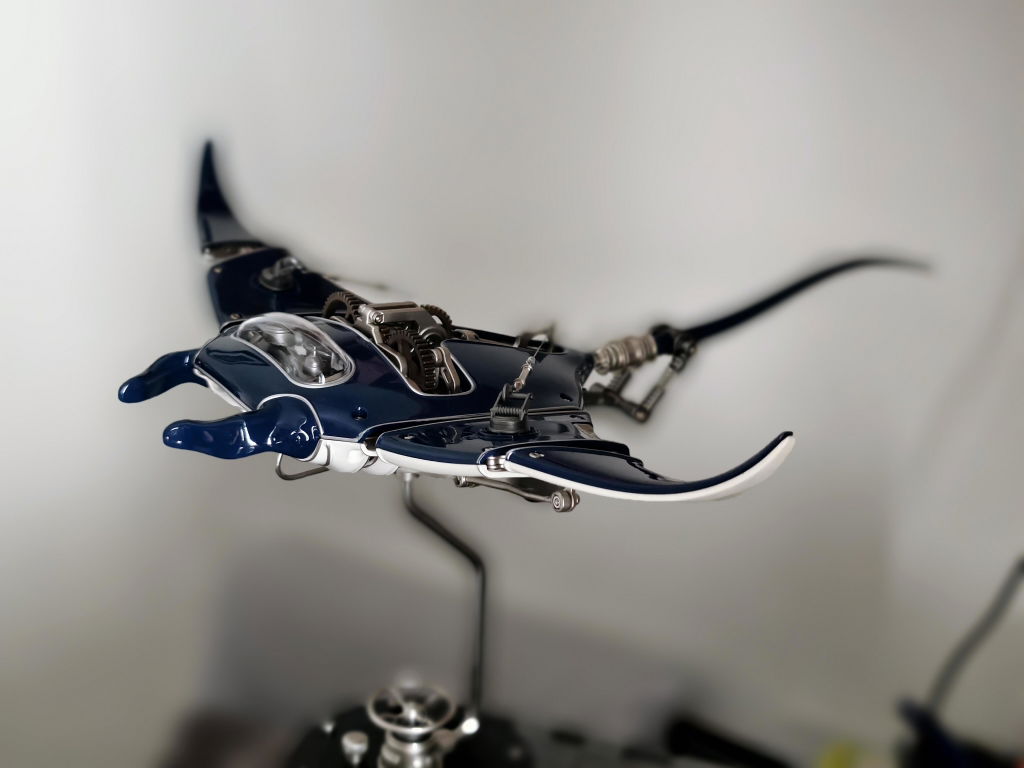
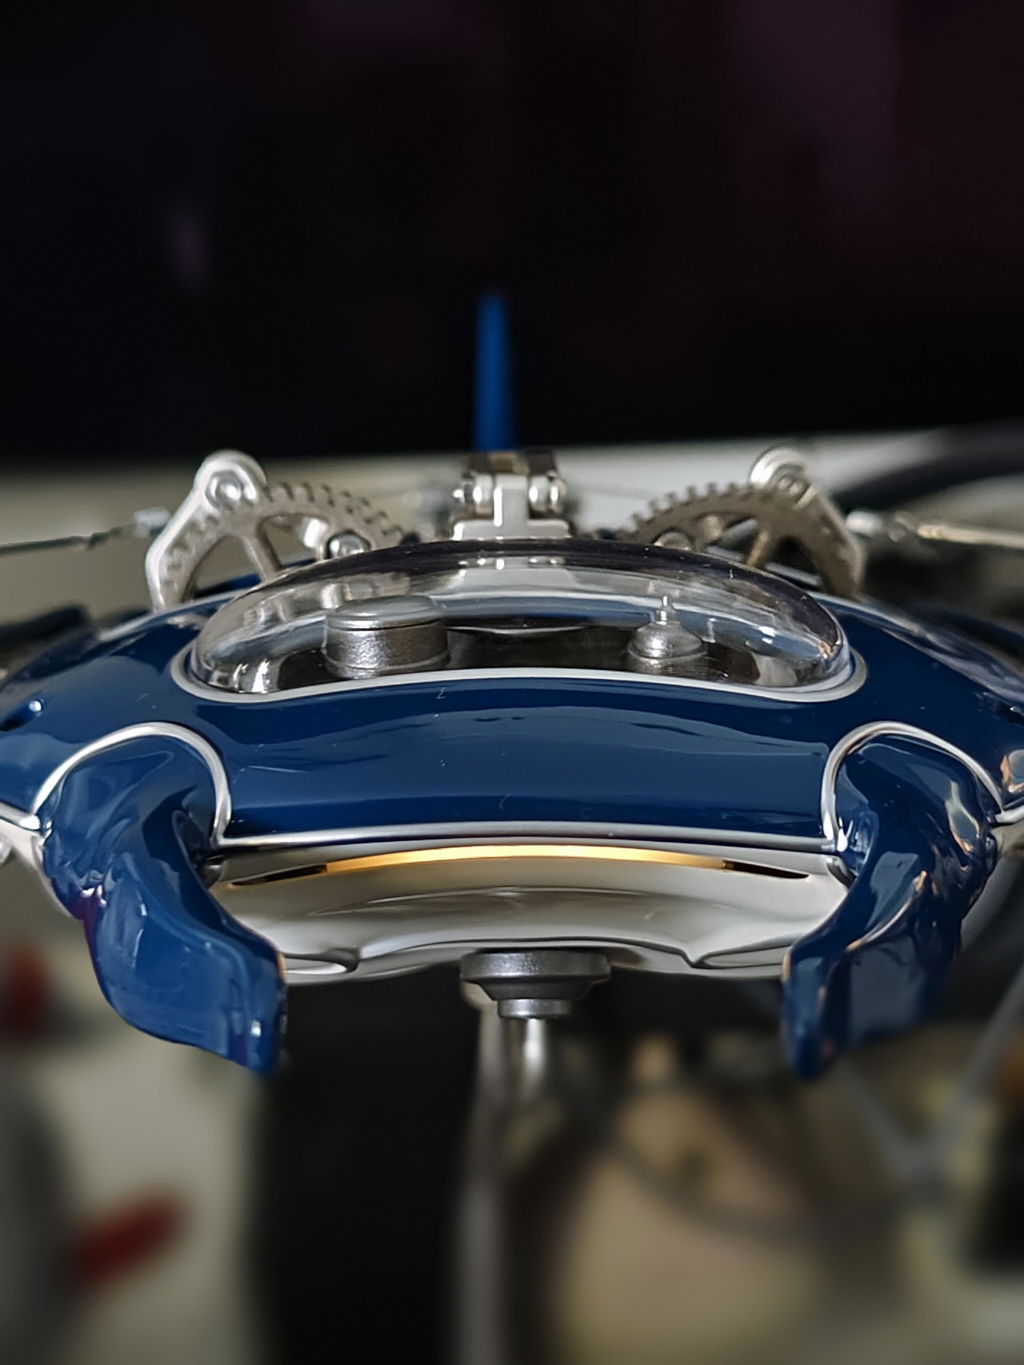
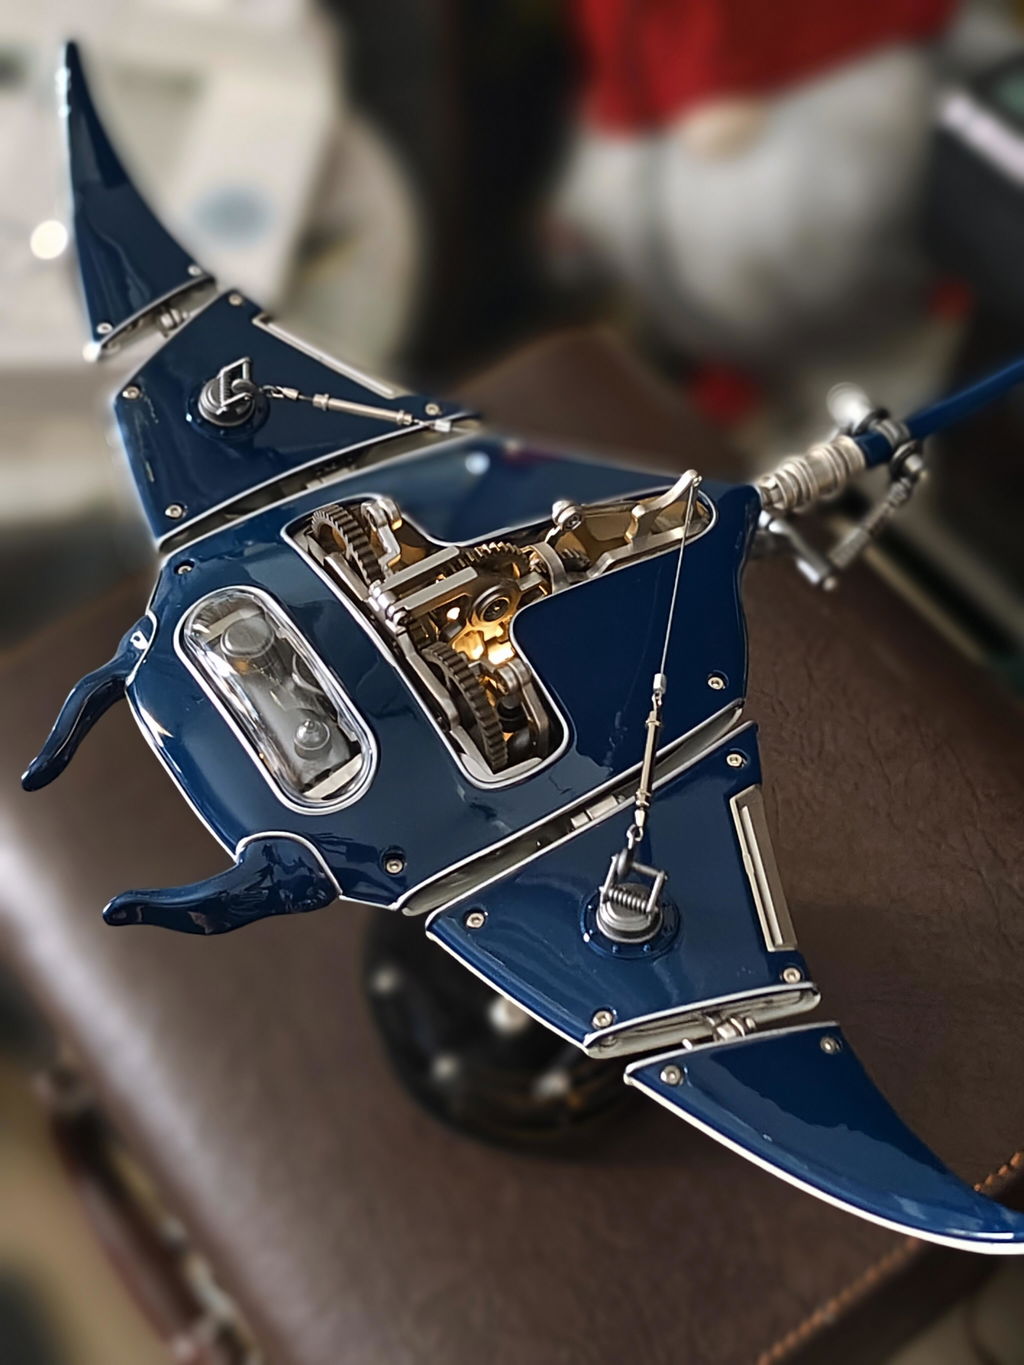
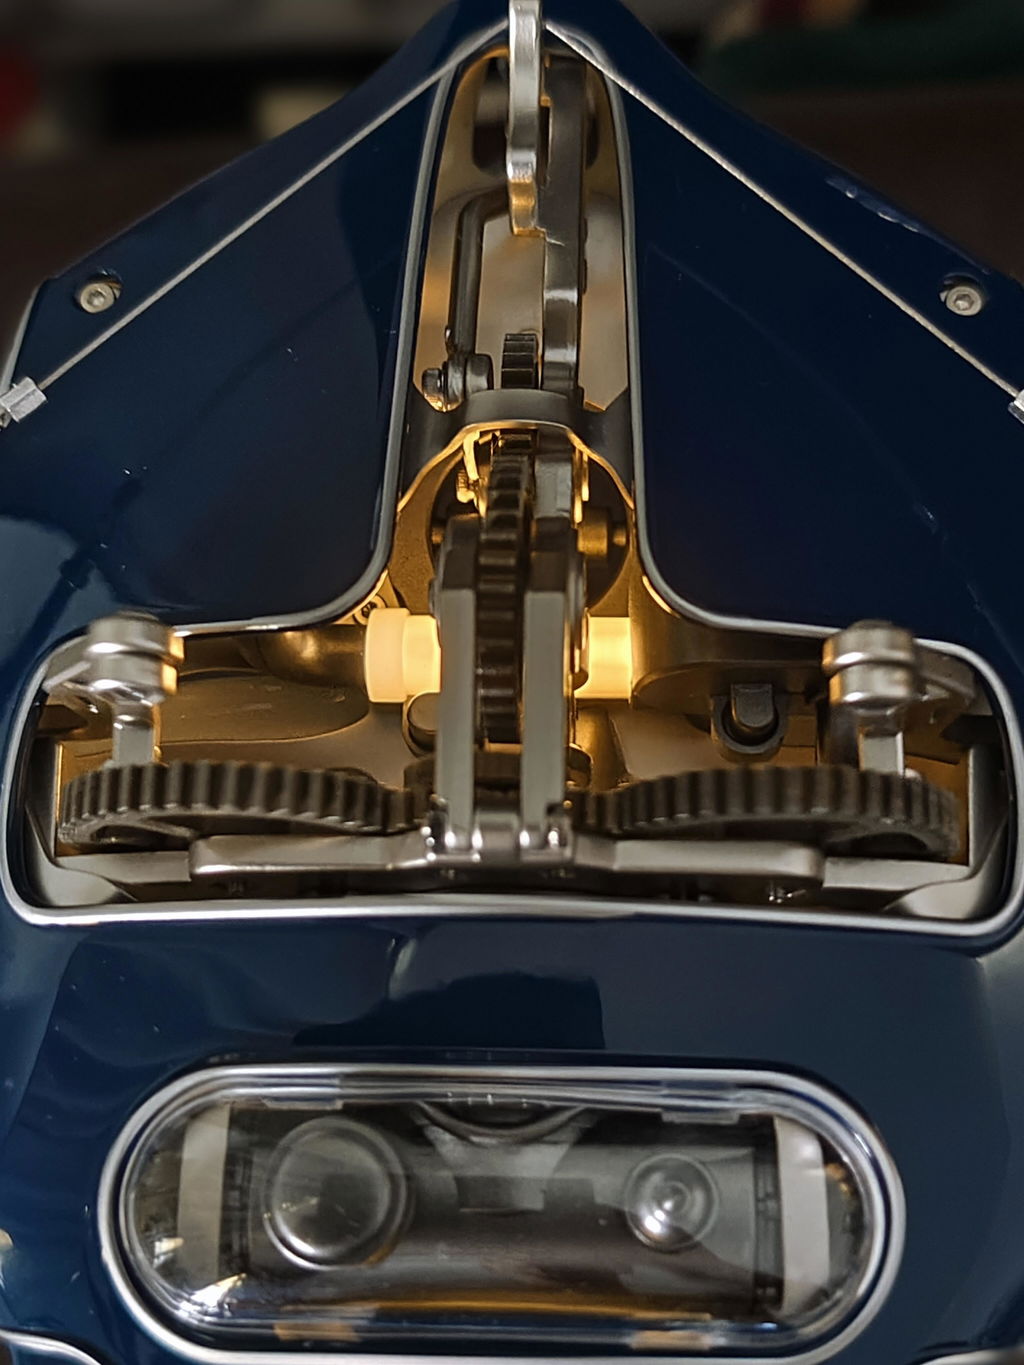
A few years ago, I came across this Manta Ray and honestly thought it wasn't real. When I finally found it on EngineDIY.com, I couldn't wait to try it.
It took me about 5 hours to assemble, and every minute was exciting. Putting all the parts together and seeing it come to life was an amazing experience. When the build was completed, I felt like I had created a piece of living art.
The most magical moment was turning it on for the first time. Watching it move peacefully on my desk, I couldn't stop staring at it. It almost felt like it was alive and communicating with me. I completely fell in love with this Manta Ray.
The customer service was excellent, and the shipping to Sweden was smooth and hassle-free.
I highly recommend EngineDIY.com to anyone who enjoys creativity, engineering, or simply wants to reconnect with the joy and wonder of childhood.
Thank you!

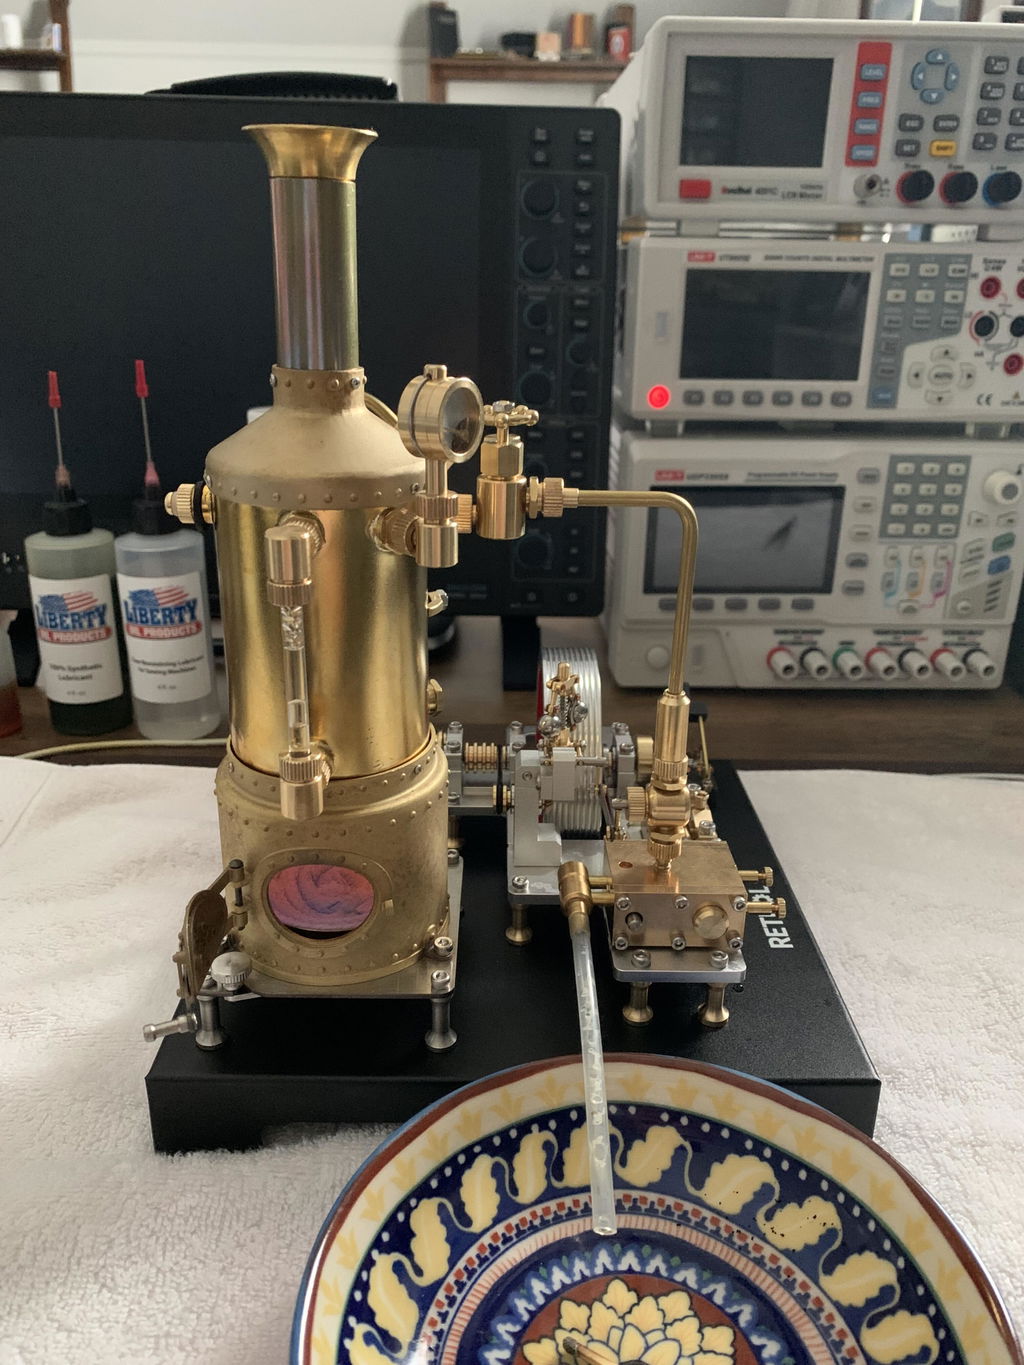
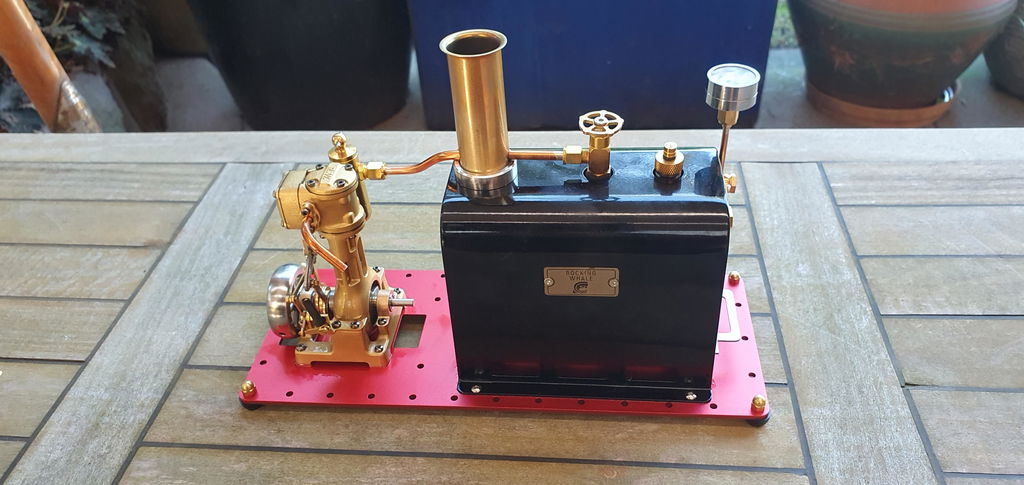
Very satisfied. Delivery was quick, Instructions were easy to read and follow. First run identified some steam leaks, (my fault – just a little more tightening on the steam feed and pressure gauge). Everything was as advertised. Very happy with the finished item.
Quick stats…
• Built time: 6 hours.
• Run time on 70% water: Greater than 30 minutes.
• Run RPM: Slow with an occasional speed up in both forward and reverse.
• Noise: Minimal.
• Mess: Just a little cleanup needed after each run.

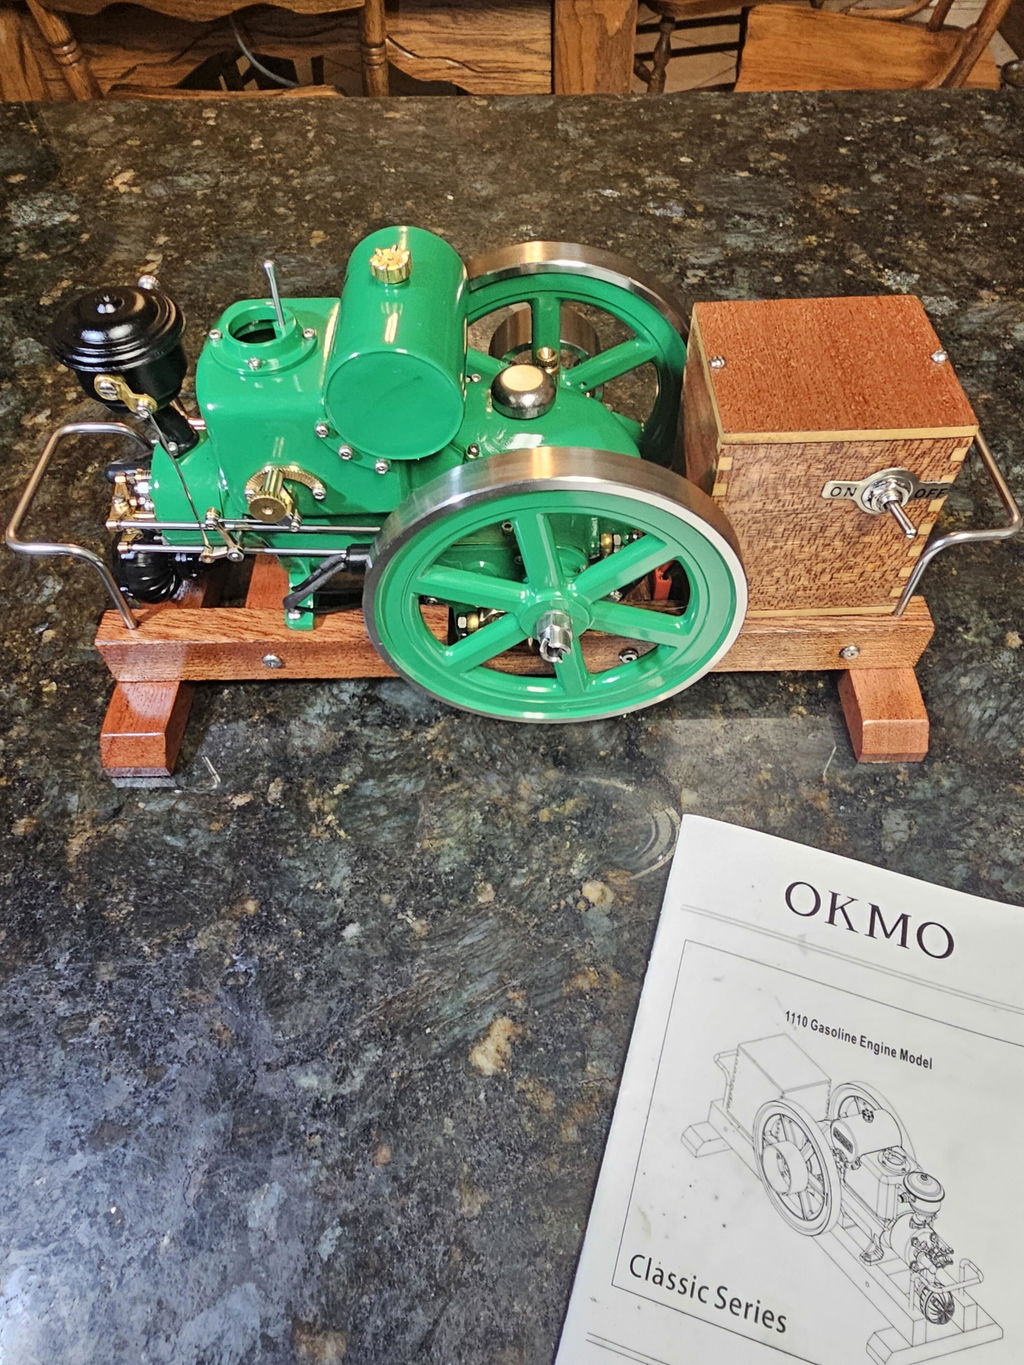
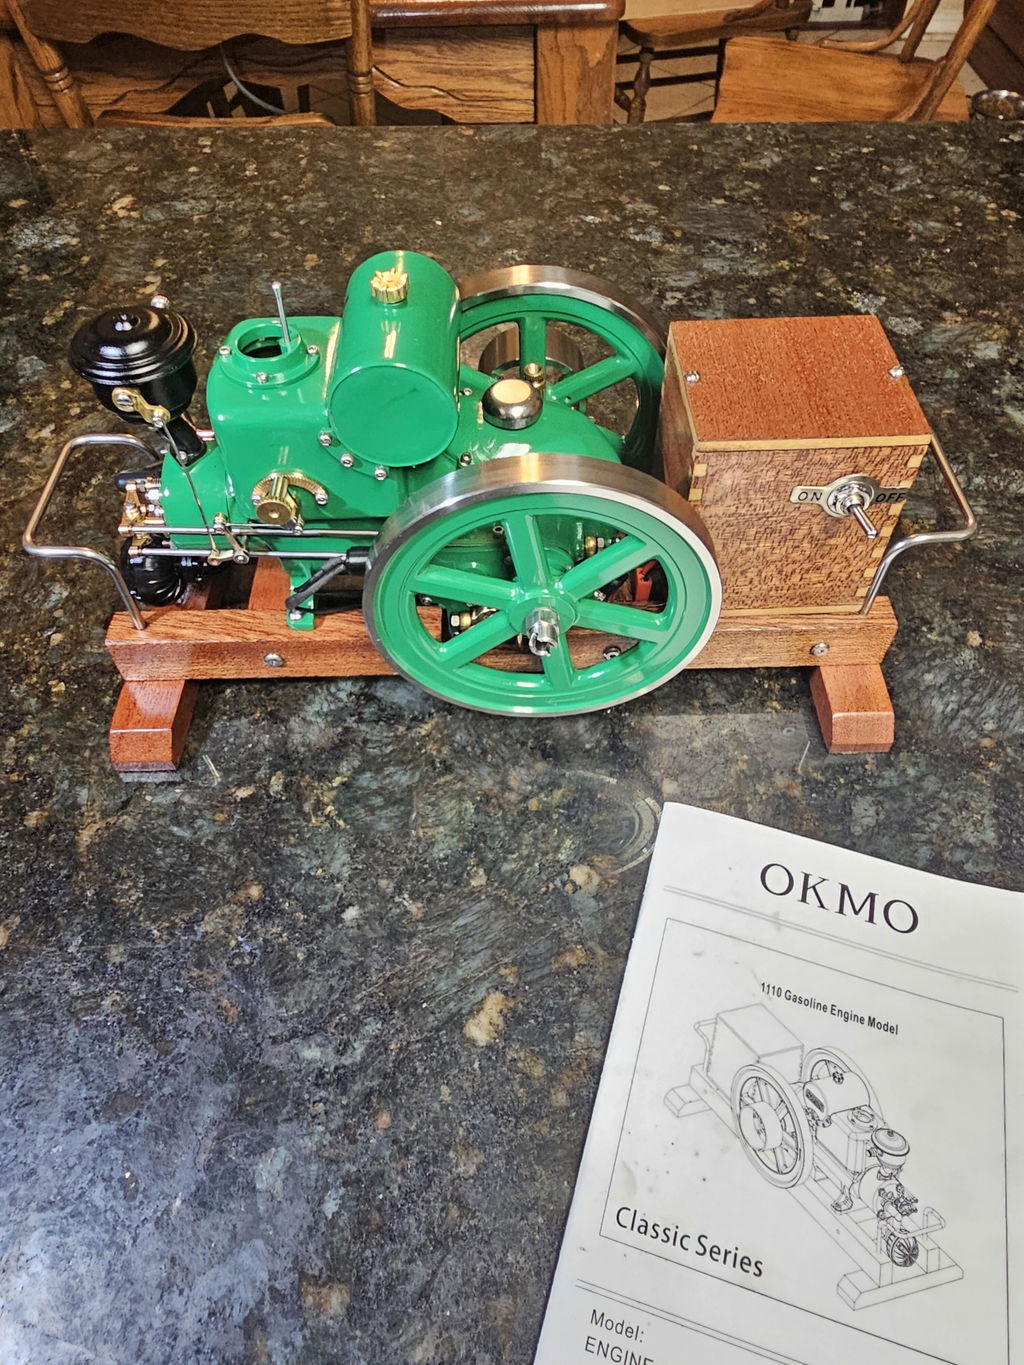
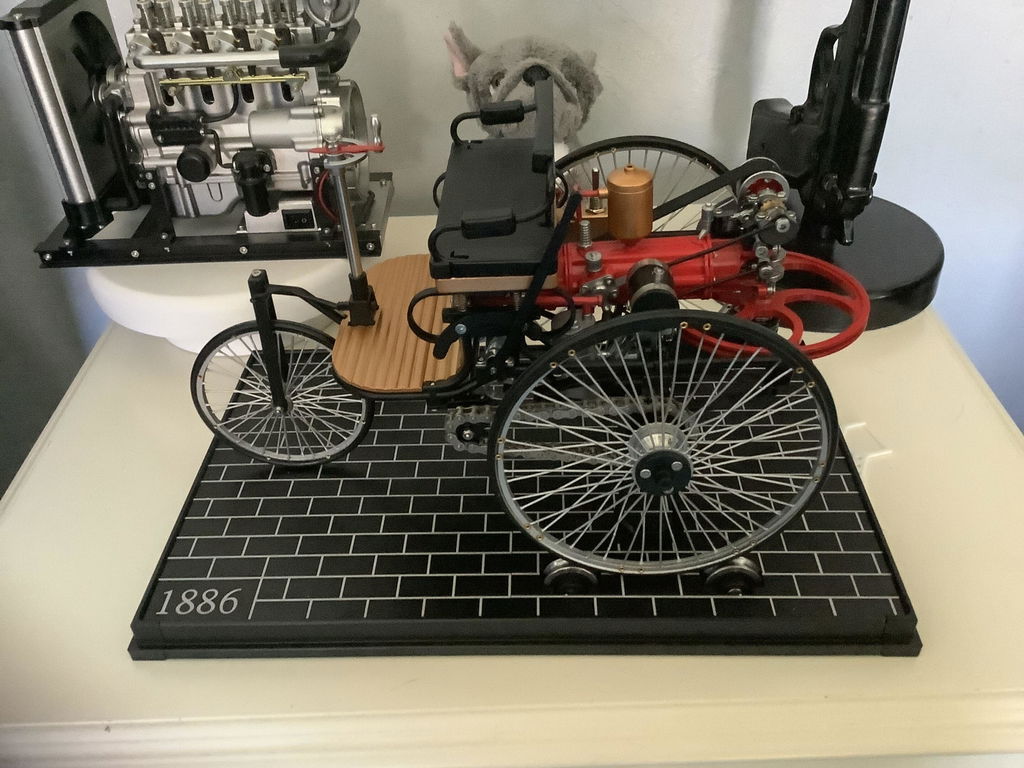
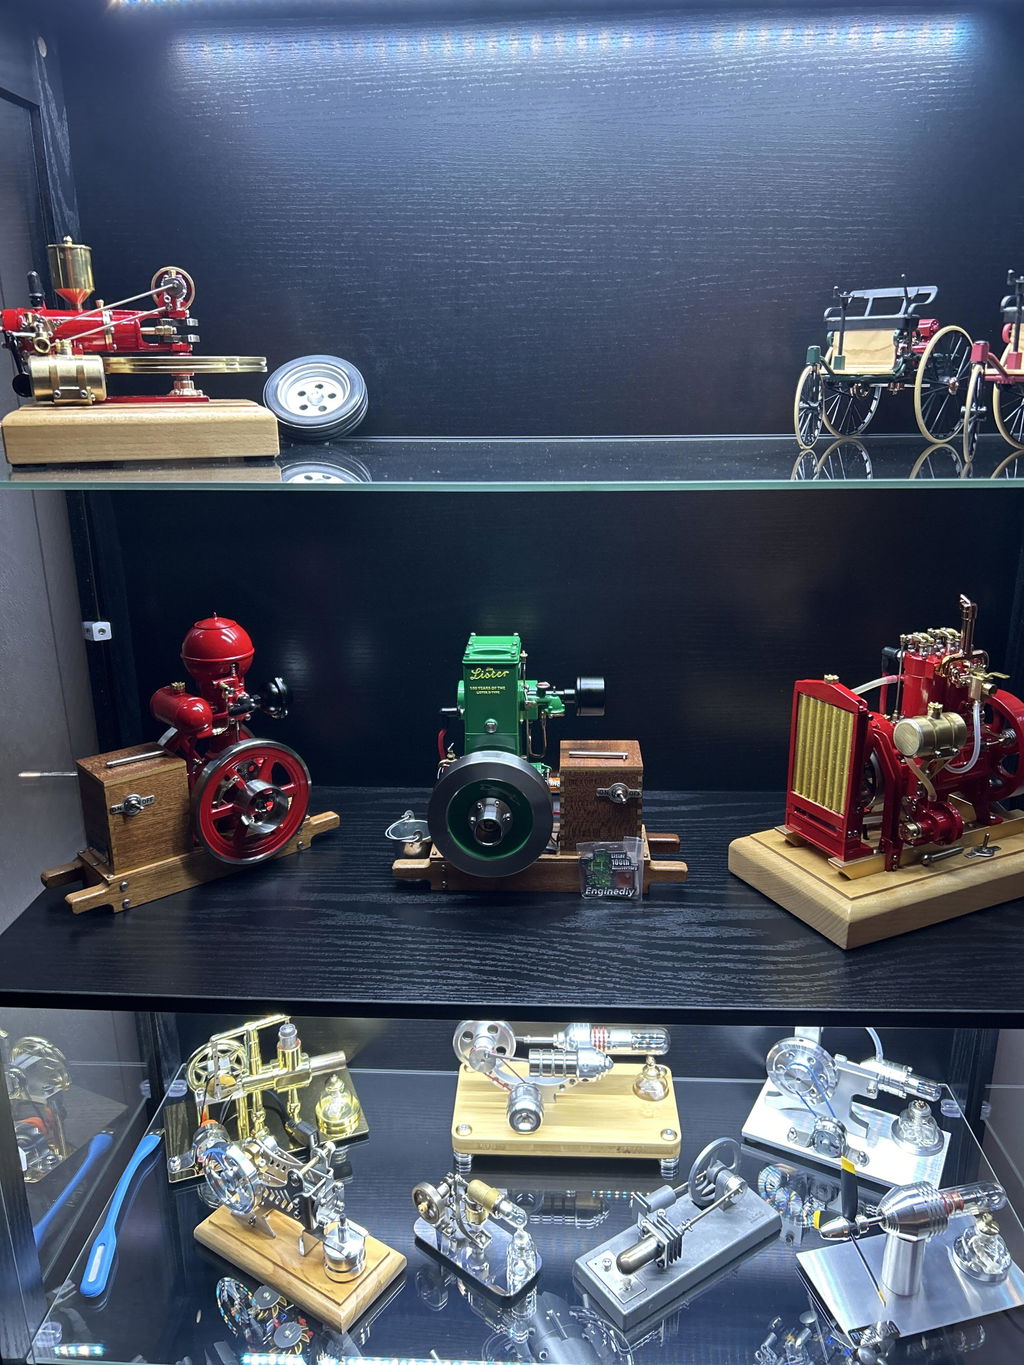
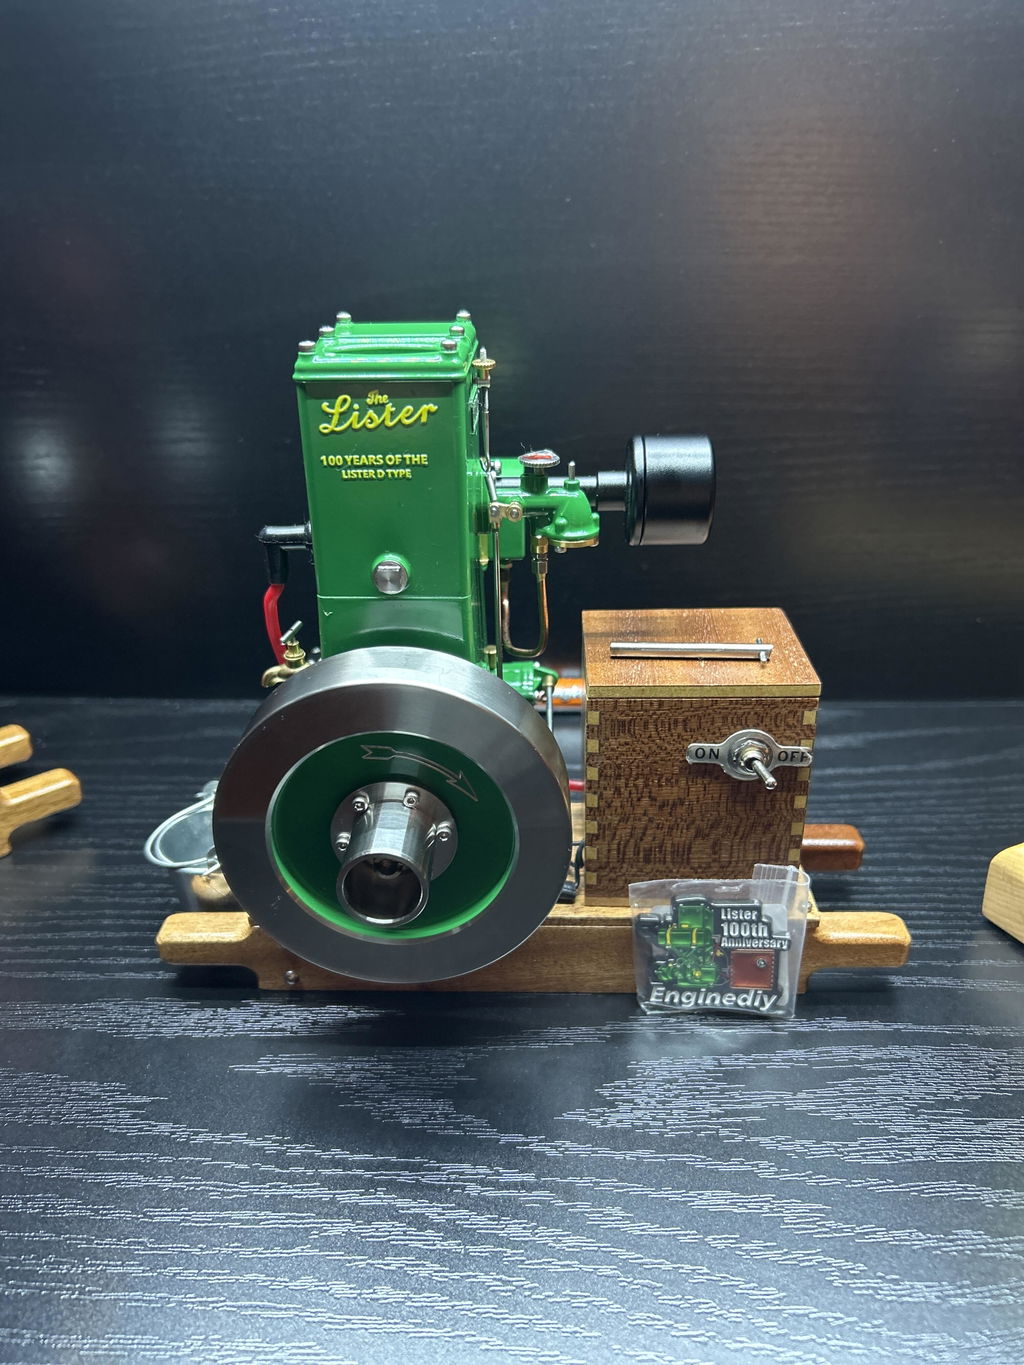
I received my 100th anniversary lister a few weeks ago. Initial start up process went great. I have run it probably 2-3 times since along with my others. I try to run my engines at least every other week or so. This lister is running great, it looks awesome! The craftsmanship is amazing! I’m impressed with the lister along with my others. It definitely won’t be my last purchase. I have more in my wishlist. I’m actually waiting on the electric powered three wheel Benz as I type this.

Five stars for the product and five stars for customer service. I have purchased several of the model steam engines from ENGINEDIY and they are all very impressive. The engineering and manufacturing tolerances are very high quality. All parts fit together perfectly. The models have been a pleasure to build and operate. Also, I have found that customer service of ENGINEDIY is excellent too. I made a slight modification to this particular model by using coiled up oil lamp wicks in the burner to heat the water in the boiler. I find this works better than cotton ball type wading which usually lasts for only one run.